
- Prep: 20 Minutes
- Cook: 4 Hours (freezing time)
- Total: 24 Minutes
- Servings: 24 popsicles
A Quick Note Before You Start
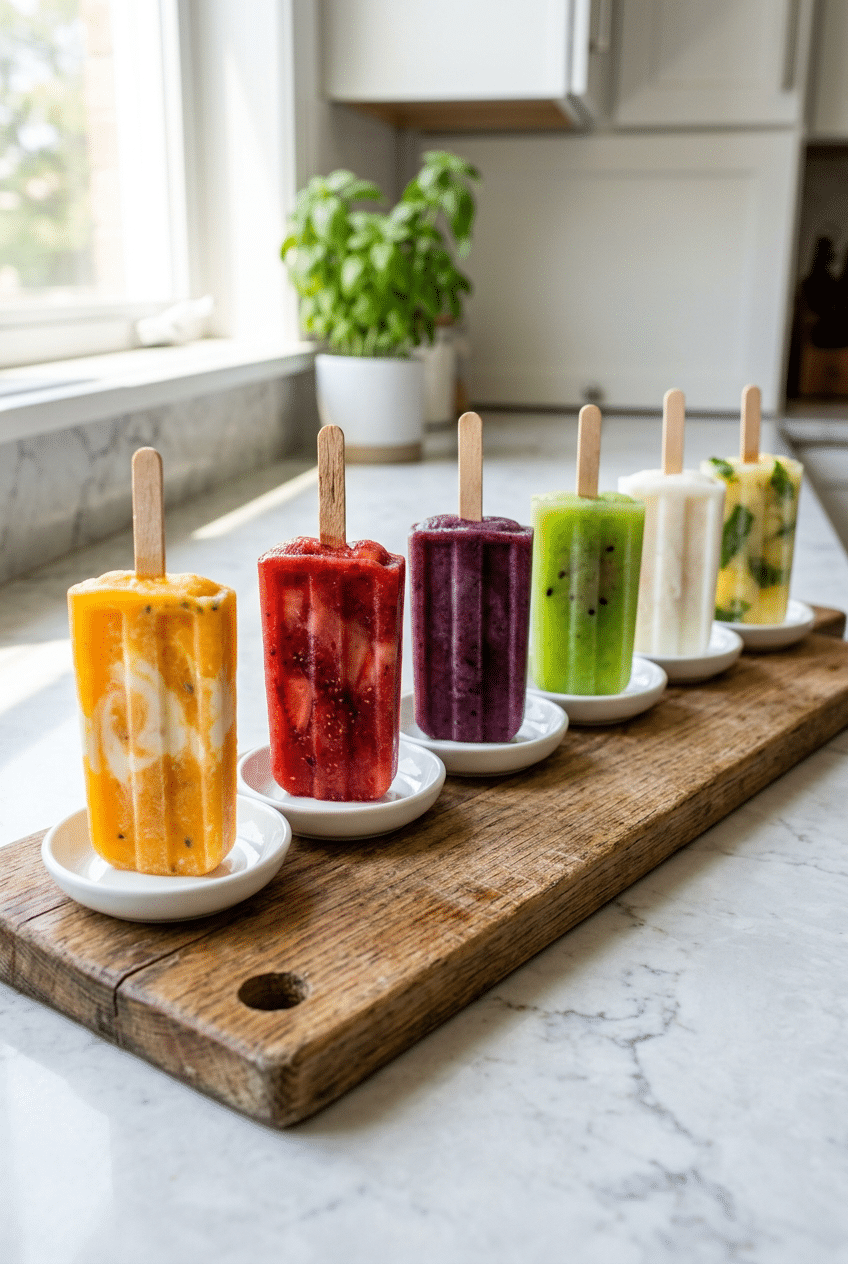
These homemade popsicles beat store-bought every time with real ingredients and zero artificial additives. The key is balancing sweetness with acidity to prevent rock-hard freezing.
Homemade popsicles transform simple ingredients into frozen magic that puts expensive store brands to shame with pure, clean flavors.
These five foolproof recipes use professional techniques like adding corn syrup for smooth texture and balancing sugar ratios for perfect scoopability.
Ingredients for Perfect Homemade Popsicles
For Strawberry Popsicles
- 2 cups fresh strawberries, hulled — provides natural sweetness and vibrant color
- 1/3 cup granulated sugar — balances tartness without overpowering fruit flavor
- 2 tablespoons fresh lemon juice — brightens flavor and prevents browning
- 1/4 cup water — helps achieve smooth blending consistency
For Orange Creamsicle Popsicles
- 1 cup fresh orange juice — use freshly squeezed for best flavor
- 1/2 cup heavy cream — creates the signature creamy layer
- 1/4 cup granulated sugar — sweetens both layers evenly
- 1 teaspoon vanilla extract — essential for authentic creamsicle taste
- 2 tablespoons light corn syrup — prevents ice crystals for smooth texture
For Watermelon Lime Popsicles
- 3 cups cubed seedless watermelon — choose bright red, sweet melon
- 3 tablespoons fresh lime juice — adds zesty contrast to sweet melon
- 2 tablespoons honey — natural sweetener that complements fruit
- Pinch of salt — enhances overall flavor balance
For Grape Popsicles
- 2 cups purple grape juice — use 100% juice, no added sugar varieties
- 2 tablespoons granulated sugar — adjust based on grape sweetness
- 1 tablespoon lemon juice — prevents overly sweet result
- 1 tablespoon corn syrup — ensures smooth, non-icy texture
For Coconut Popsicles
- 1 can (14 oz) full-fat coconut milk — provides rich, creamy base
- 1/3 cup granulated sugar — sweetens without masking coconut flavor
- 1/4 cup shredded coconut — adds texture and visual appeal
- 1 teaspoon vanilla extract — enhances coconut flavor complexity
Optional Add-Ins
- 1/4 cup mini chocolate chips for any flavor
- 1 tablespoon chia seeds for texture
- Food coloring for brighter colors
How to Make Perfect Homemade Popsicles Step by Step
Step 1: Prepare Strawberry Base
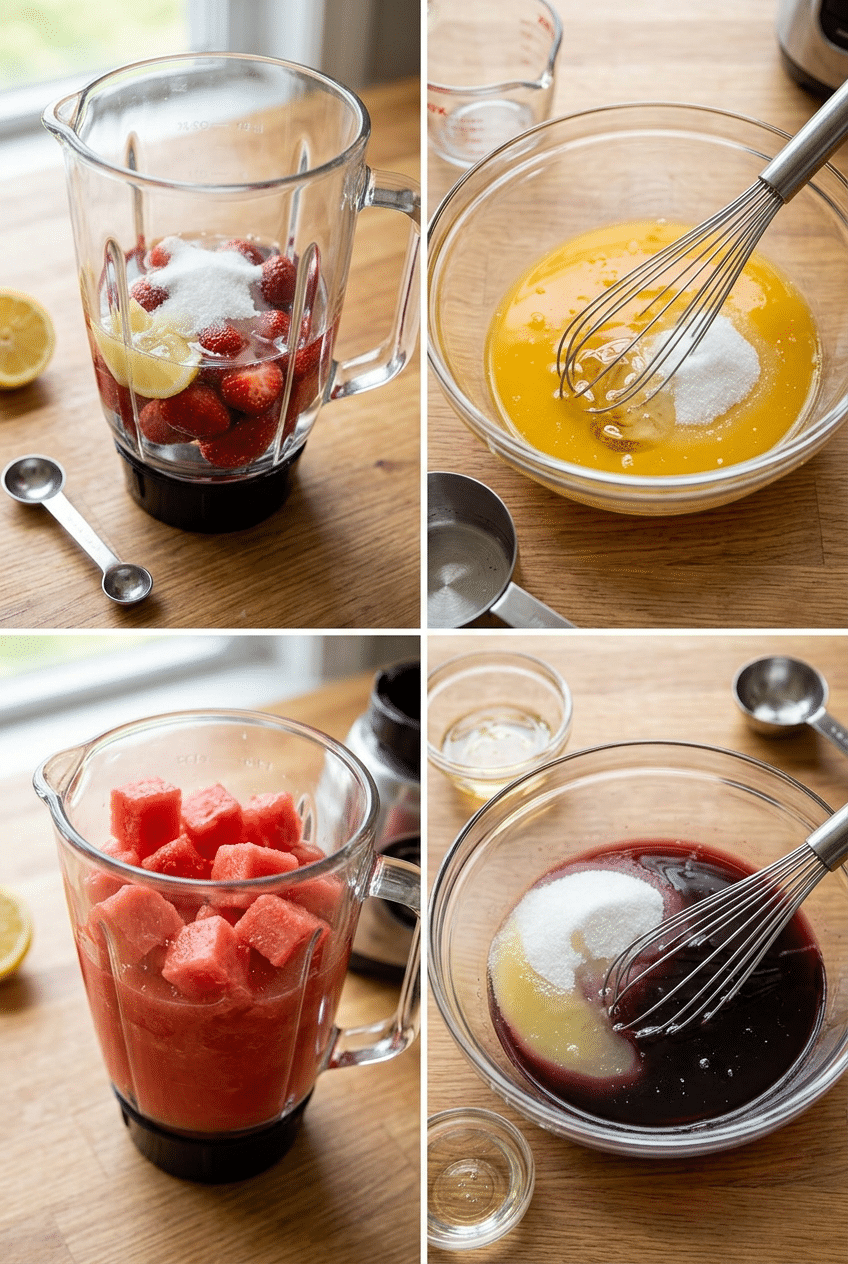
Combine hulled strawberries, sugar, lemon juice, and water in a blender. Blend for 60 seconds until completely smooth, stopping to scrape sides if needed. The mixture should be vibrant red with no visible fruit chunks.
Strain the mixture through a fine-mesh sieve into a bowl, pressing solids with a spoon to extract maximum liquid. This removes seeds and pulp that would create icy spots in your finished popsicles.
Without a proper blender, chunky popsicles turn into ice bombs that hurt your teeth. The Ninja Professional Blender pulverizes fruit and ice effortlessly, creating silky-smooth bases that freeze into creamy perfection every single time.
High-speed blender — Essential for creating smooth, professional textures that freeze evenly without ice crystals.
Step 2: Create Creamsicle Layers
Whisk orange juice with half the sugar and all the corn syrup in one bowl until sugar dissolves completely. In a separate bowl, whisk heavy cream with remaining sugar and vanilla extract until just combined but not whipped.
Pour orange mixture into popsicle molds filling them one-third full. Freeze for 45 minutes until partially set but still slightly soft on top. This timing prevents the layers from mixing together.
Gently pour cream mixture over partially frozen orange layer, filling molds to the top. Insert popsicle sticks and freeze completely for at least 3 hours until solid throughout.
Step 3: Blend Watermelon Mixture
Process cubed watermelon in blender until completely liquified, about 30 seconds. Add lime juice, honey, and salt, then blend for another 15 seconds to combine all flavors evenly.
Taste the mixture and adjust sweetness with additional honey if needed. The lime should provide a bright contrast without overwhelming the delicate watermelon flavor.
Pour mixture through fine-mesh strainer to remove any remaining pulp pieces. This extra step ensures your popsicles have a smooth, professional texture that won’t break apart when eating.
Step 4: Prepare Grape Base
Whisk grape juice, sugar, lemon juice, and corn syrup in a bowl until sugar completely dissolves. Let mixture sit for 2 minutes, then whisk again to ensure no granules remain.
The corn syrup is crucial here because grape juice has high water content that creates rock-hard ice without proper stabilizers. This professional technique keeps your popsicles creamy and easy to bite.
Step 5: Mix Coconut Base
Shake coconut milk can vigorously before opening, then pour into bowl. Whisk in sugar, shredded coconut, and vanilla extract until sugar dissolves completely and mixture is smooth.
Let mixture rest for 5 minutes, allowing shredded coconut to soften slightly. This prevents hard, chewy bits in your finished popsicles while maintaining pleasant texture contrast.
Step 6: Fill Molds Properly
Pour each mixture into separate popsicle molds, leaving 1/4-inch space at the top for expansion during freezing. Tap molds gently on counter to release air bubbles that would create hollow spots.
Insert popsicle sticks straight down into center of each mold, pushing until they reach about 3/4 of the way to the bottom. Crooked sticks make popsicles difficult to eat and prone to breaking.
Cheap plastic molds crack in the freezer and create uneven popsicles that stick like glue. The Tovolo Groovy Pop Molds have thick silicone walls that release popsicles effortlessly and create perfectly shaped treats every time.
Silicone popsicle molds — Quality molds release popsicles cleanly and create uniform shapes that look store-bought.

- Upgraded Design: The dual-purpose concept of the Miaowoof popsicle molds perfectly accommodates both reusable plastic st…
- Quality Silicone: Our popsicle molds are made from high-quality silicone, ensuring no harm to your homemade popsicles an…
- Easy to Remove: Thanks to the high-quality silicone material of our popsicle molds, the ice pops are easy to take out. I…
Step 7: Freeze to Perfection
Place filled molds in freezer on a level shelf where they won’t be disturbed. Freeze for minimum 4 hours, though overnight freezing produces the best texture and easiest release from molds.
Test doneness by gently wiggling one popsicle stick. When completely frozen, the stick should feel firmly anchored with no movement in the popsicle base.
Step 8: Remove from Molds
Run warm water over the outside of molds for 15-30 seconds to loosen popsicles. Don’t use hot water, which can start melting your perfectly frozen treats from the outside.
Gently pull each popsicle straight up from the mold with steady pressure. If resistance occurs, run more warm water over that specific section rather than forcing it out.
Nutrition Information
- Per popsicle: 45 calories
- 1g fat
- 11g carbs
- 0g protein (varies by flavor)
Pro Tips
Perfect sweetness balance: Taste your mixture before freezing and add extra sweetener if needed, as freezing dulls sweet flavors by about 20 percent.
Prevent ice crystals: Add 1-2 tablespoons corn syrup or honey to any fruit-based recipe for professional smooth texture that stays creamy.
Layer like a pro: For multi-colored popsicles, freeze each layer for 30-45 minutes before adding the next to create clean, distinct stripes.
Quick release trick: Keep a bowl of warm water nearby when unmolding multiple popsicles to speed up the process without melting your treats.
Storage secret: Wrap individual popsicles in plastic wrap or parchment paper to prevent freezer burn and maintain fresh flavors for up to 2 months.
Delicious Variations
Yogurt Swirl Popsicles
Replace half the liquid in any recipe with Greek yogurt for protein-packed treats. Swirl in vanilla or honey for extra richness. The yogurt adds creaminess and tangy contrast to sweet fruit flavors.
Adult Boozy Versions
Add 1-2 tablespoons rum to coconut, vodka to watermelon, or champagne to strawberry recipes. Alcohol prevents complete freezing, so increase freezing time to 6 hours for proper set.
Chocolate-Dipped Popsicles
Dip frozen popsicles in melted chocolate mixed with 1 tablespoon coconut oil for smooth coating. Roll immediately in chopped nuts, sprinkles, or coconut before chocolate sets completely.
Green Smoothie Popsicles
Blend 1 cup spinach with mango, pineapple, and coconut water for hidden vegetable treats kids will actually eat. The fruit completely masks any vegetable taste while adding nutrition.
Storage Instructions
Refrigerator
Popsicles will start melting immediately in the refrigerator, so this isn’t a storage option. However, you can store unmolded popsicle mixtures in the fridge for up to 24 hours before pouring into molds and freezing.
Freezer
Store finished popsicles in airtight containers or wrap individually in plastic wrap to prevent freezer burn. They’ll maintain peak quality for 2 months, though they’re safe to eat for up to 6 months. Layer popsicles between parchment paper to prevent sticking together.
Make-Ahead
Prepare all popsicle bases up to 2 days in advance and refrigerate in covered containers. This actually improves flavors as ingredients meld together. Pour into molds and freeze when ready to make your popsicles.
For food safety guidelines, visit USDA Food Safety Guidelines.
Frequently Asked Questions
Why are my homemade popsicles so hard and icy?
Ice crystals form when there’s too much water and not enough fat or sugar to create smooth texture. Add 1-2 tablespoons corn syrup or honey to your recipe, and ensure you’re using enough natural sugars from fruit or added sweeteners to balance the water content properly.
How do I prevent popsicles from falling off the stick?
Insert sticks when the mixture is partially frozen (about 30-45 minutes), not completely liquid. The semi-frozen state allows the stick to anchor properly. Also ensure you’re pushing sticks deep enough – about 3/4 of the way into the mold.
Can I use frozen fruit for homemade popsicles?
Absolutely! Frozen fruit often works better than fresh because it’s picked at peak ripeness and breaks down more easily when blended. Thaw frozen fruit completely before blending, or add an extra 2-3 tablespoons of liquid to help your blender process the harder frozen pieces.
How long do homemade popsicles need to freeze?
Most popsicles need 4-6 hours minimum to freeze completely, but overnight freezing (8+ hours) produces the best texture and easiest mold release. Recipes with higher fat content like coconut or cream-based popsicles may need the full overnight freeze to set properly.
More Recipes You Will Love
👉 Perfect Strawberry Lemonade Recipe (Fresh & Easy)
👉 Perfect Watermelon Feta Salad Recipe (Summer Fresh)
👉 Perfect Grilled Chicken Kabobs Recipe
These homemade popsicles prove that the best frozen treats come from your own kitchen, not the store freezer. Try one flavor this week, then experiment with your own combinations using these professional techniques. Share your favorite flavor creation in the comments below!