
- Prep: 30 Minutes
- Cook: 25 Minutes
- Total: 55 Minutes
- Servings: 12 servings
A Quick Note Before You Start
This stunning patriotic dessert looks fancy but uses simple techniques. The secret is letting your cake layers cool completely before assembly to prevent melting.
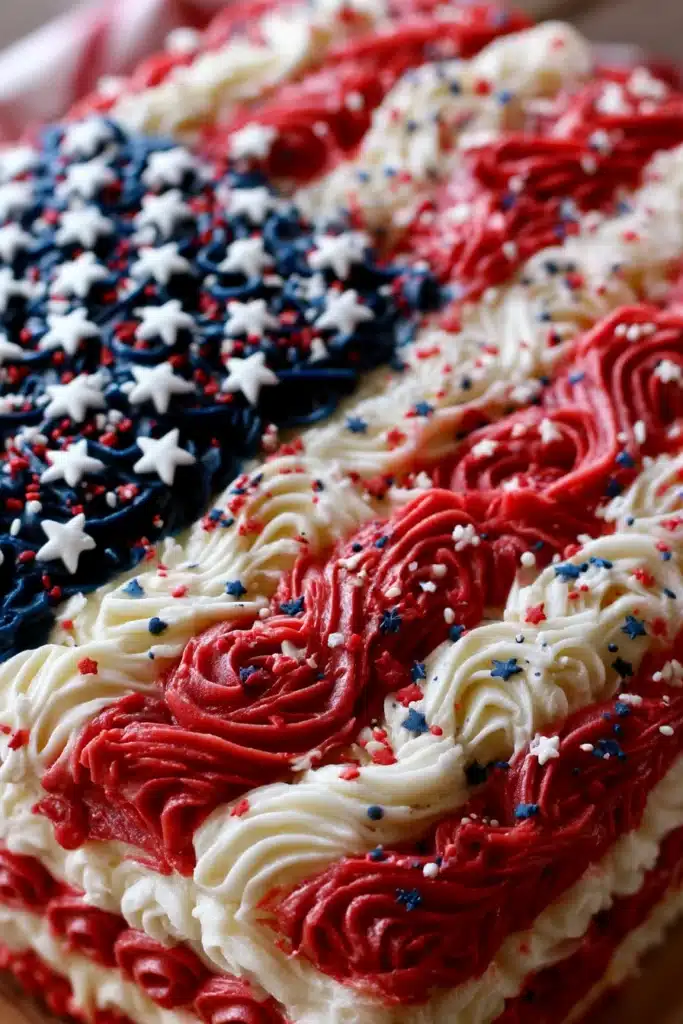
American Flag Cake transforms simple vanilla cake into a show-stopping patriotic centerpiece using fresh strawberries and blueberries. This crowd-pleasing dessert combines fluffy cake layers with sweetened whipped cream for the perfect 4th of July celebration.
The key to a gorgeous flag design lies in proper berry placement and stable whipped cream that won’t deflate. You’ll master professional-looking piping techniques that make this cake look bakery-perfect every time.
Ingredients for Perfect American Flag Cake
For the Vanilla Cake
- 2¾ cups all-purpose flour — creates tender crumb structure
- 2½ teaspoons baking powder — provides perfect lift
- ½ teaspoon salt — enhances vanilla flavor
- 1¾ cups granulated sugar — sweetens and adds moisture
- ¾ cup unsalted butter, softened — creates rich texture
- 4 large eggs, room temperature — binds ingredients smoothly
- 2 teaspoons vanilla extract — adds aromatic depth
- 1¼ cups whole milk, room temperature — keeps cake moist
For the Flag Assembly
- 3 cups heavy whipping cream — creates stable white stripes
- ⅓ cup powdered sugar — sweetens without grittiness
- 1 teaspoon vanilla extract — complements cake flavor
- 2 cups fresh blueberries — forms the blue star field
- 3 cups fresh strawberries, hulled and sliced — creates red stripes
Optional Add-Ins
- 1 tablespoon cornstarch mixed into whipped cream for extra stability
- Fresh mint leaves for garnish
How to Make American Flag Cake Step by Step
Step 1: Prepare Your Baking Setup
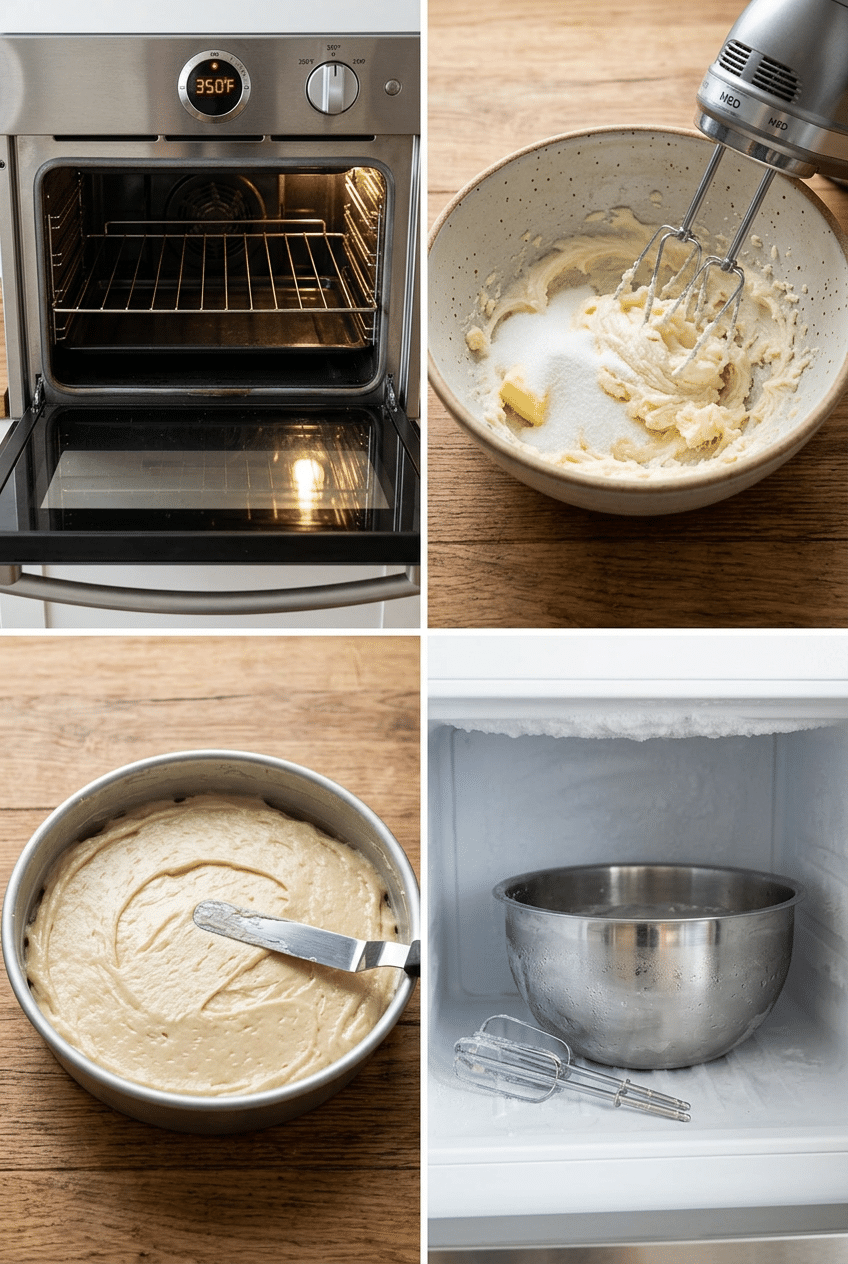
Preheat your oven to 350°F and position the rack in the center. Grease a 13×9-inch rectangular baking pan with butter, then dust with flour, tapping out excess. This prevents sticking and ensures clean cake removal.
Room temperature ingredients blend more easily and create a smoother batter. Cold eggs and milk can cause the butter to seize, creating lumps that won’t disappear during mixing.
Measuring flour correctly makes the difference between dense and fluffy cake. Spoon flour into your measuring cup and level with a knife rather than scooping directly from the bag, which compacts the flour and adds too much.
13×9-inch rectangular baking pan — The right pan size ensures proper cake thickness for clean flag proportions and even baking throughout.

- 9 x 13 inch rectangular cake pan; made from aluminized steel; a mix of steel for strength and durability and aluminum fo…
- USA Pan baking pans feature our proprietary silcone nonstick coating which promotes quick release of baked goods plus fa…
- Our rectangular baking pan features unique corrugated surface; facilitates air flow for quick release and evenly baked g…
Step 2: Mix the Perfect Batter
Cream butter and sugar in a large bowl using an electric mixer on medium speed for 4-5 minutes until light and fluffy. The mixture should nearly double in volume and look pale yellow. This incorporates air for a tender crumb.
Beat in eggs one at a time, mixing well after each addition. Add vanilla extract and mix until combined. The batter should look smooth and cohesive without any streaks.
In a separate bowl, whisk together flour, baking powder, and salt. Alternate adding dry ingredients and milk to the butter mixture, beginning and ending with flour. Mix just until combined to avoid tough cake.
Step 3: Bake to Golden Perfection
Pour batter into your prepared pan and spread evenly with an offset spatula. Gently tap the pan on the counter twice to release air bubbles that could create holes in your finished cake.
Bake for 22-25 minutes until the top springs back when lightly touched and a toothpick inserted in the center comes out clean. The edges should just start pulling away from the pan sides.
Cool completely in the pan for at least 2 hours before decorating. Warm cake will melt your whipped cream and ruin the flag design. You can speed cooling by placing the pan on a wire rack.
Step 4: Create Stable Whipped Cream
Chill your mixing bowl and beaters in the freezer for 15 minutes before whipping cream. Cold equipment helps cream whip faster and hold peaks longer. Pour heavy cream, powdered sugar, and vanilla into the chilled bowl.
Beat on medium speed until soft peaks form, then increase to high speed until stiff peaks hold their shape when you lift the beaters. Don’t overwhip or you’ll make butter instead of cream.
The whipped cream should hold its shape when piped but still spread smoothly. If it seems too soft, chill for 30 minutes before using. Properly whipped cream creates clean flag stripes that won’t blur together.
offset spatula — An offset spatula spreads cream smoothly and creates sharp, professional-looking stripe edges that make your flag design pop.

- Two Professional Cake Decorating Spatulas: PUCKWAY offset spatula set comes in two different sizes: 6 inch and 8 inch bl…
- Great Ergonomic and Non-Slip Design: The ergonomic handle of these angled icing spatulas is lightweight and very comfort…
- Multifunction Use: The offset cake decorating knives can help frost hard to reach areas without your hands getting in th…
Step 5: Assemble Your Flag Design
Spread a thin layer of whipped cream over the entire cooled cake surface using an offset spatula. This base layer catches any crumbs and creates a smooth canvas for your flag design.
Mark the upper left corner for your blue field by measuring a 5×4-inch rectangle. Fill this area with fresh blueberries, pressing gently into the cream so they stay in place but don’t sink completely.
Create red stripes using sliced strawberries arranged in straight lines across the remaining cake surface. Leave white cream stripes between each red berry stripe, alternating colors to match the American flag pattern. Space stripes evenly for the most authentic look.
Nutrition Information
- Per serving: 420 cal
- 24g fat
- 48g carbs
- 6g protein
Pro Tips
Berry Selection Secret: Choose firm, uniformly-sized berries for the best visual impact. Overripe strawberries release juice that bleeds into white cream, while mushy blueberries crush during placement.
Stripe Perfection: Use a ruler to mark stripe placement lightly with a toothpick before adding berries. This ensures straight, evenly-spaced lines that look professionally made.
Make-Ahead Magic: Bake the cake layer up to 2 days ahead and wrap tightly in plastic wrap. Assemble with cream and berries on serving day for maximum freshness.
Serving Success: Use a sharp knife dipped in warm water and wiped clean between cuts. This prevents the whipped cream from dragging and maintains clean slice edges.
Temperature Control: Keep the decorated cake refrigerated until 30 minutes before serving. This maintains cream stability while allowing flavors to come to room temperature.
Delicious Variations
Funfetti Flag Cake
Add ½ cup rainbow sprinkles to the batter for extra celebration. The colorful specks peek through the white base while maintaining the patriotic berry design on top.
Lemon Flag Cake
Replace vanilla extract with lemon zest and juice for a bright citrus twist. Add 2 tablespoons lemon zest to batter and 1 tablespoon to whipped cream for complementary berry flavors.
Individual Flag Cupcakes
Divide batter among 24 cupcake liners and bake 18-20 minutes. Top each with whipped cream, a few blueberries in one corner, and strawberry pieces for personal-sized flag treats.
Storage Instructions
Refrigerator
Store covered American Flag Cake in refrigerator for up to 3 days. The whipped cream stays stable and berries maintain their color and texture. Cover loosely with plastic wrap or cake dome to prevent absorption of other flavors while allowing air circulation.
Freezer
Freeze unfrosted cake layers wrapped tightly in plastic wrap for up to 3 months. Thaw overnight in refrigerator before decorating. Do not freeze assembled cake as berries become mushy and cream separates when thawed.
Make-Ahead
Bake cake layers 2 days ahead and store covered at room temperature. Prepare whipped cream and wash berries the morning of serving. Assemble flag design 2-4 hours before guests arrive for best appearance and flavor.
For food safety guidelines, visit USDA Food Safety Guidelines.
Frequently Asked Questions
Can I use frozen berries for American Flag Cake?
Fresh berries work best for this patriotic cake because frozen berries release excess moisture that bleeds into the white cream, creating muddy colors. If you must use frozen, thaw completely and pat very dry with paper towels before arranging on the cake.
How do I keep the whipped cream from deflating?
Chill your bowl and beaters before whipping, don’t overbeat past stiff peaks, and add a tablespoon of cornstarch to stabilize the cream. Keep the finished cake refrigerated and assemble no more than 4 hours before serving for best results.
What’s the best way to transport this flag cake?
Use a cake carrier with a tight-fitting lid and keep refrigerated until departure. Transport in an air-conditioned vehicle and refrigerate immediately upon arrival. The rectangular shape makes it easier to transport than round cakes.
Can I make this American Flag Cake ahead of time?
Bake the cake base 1-2 days ahead and store covered. Make whipped cream and assemble the flag design on the day of serving for best appearance. The fresh berries stay vibrant and the cream maintains its structure when assembled fresh.
More Recipes You Will Love
👉 Perfect Frozen Lemonade Recipe (Slushy & Sweet)
👉 Perfect Homemade Popsicles Recipe (5 Amazing Flavors)
👉 No-Churn Ice Cream Recipe (2-Ingredient Easy)
👉 Perfect Watermelon Recipes (3 Fresh Summer Ideas)
This American Flag Cake brings patriotic pride to any summer celebration with its stunning visual impact and delicious vanilla-berry combination. The techniques you’ve learned create professional results that will have everyone asking for your secret. Try making this showstopper for your next 4th of July gathering and watch it become the centerpiece everyone remembers!