
- Prep: 10 Minutes
- Cook: 15 Minutes
- Total: 25 Minutes
- Servings: 6 servings
A Quick Note Before You Start
Soaking corn husks prevents burning and creates steam for even cooking. Skip the foil wrapping — direct heat creates the best char marks.
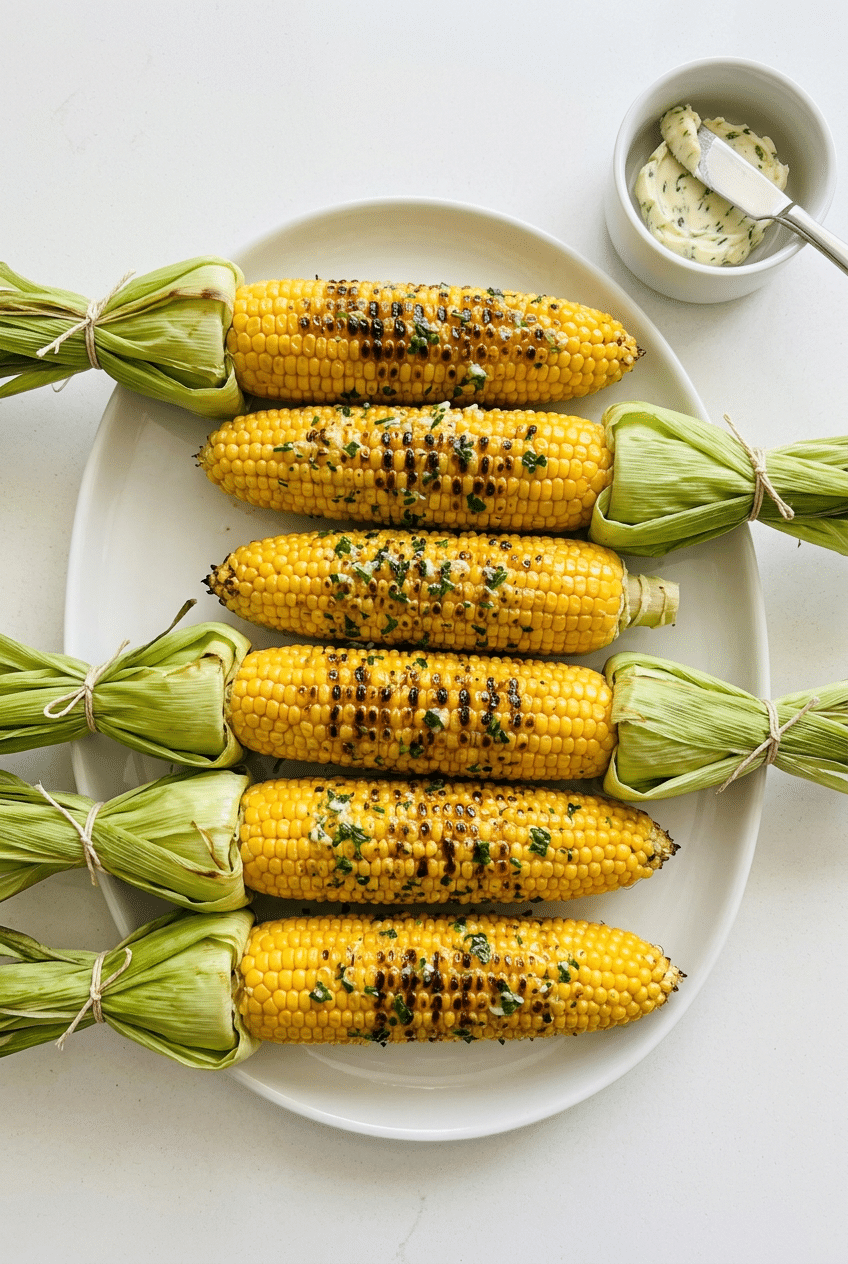
Grilled corn on the cob transforms ordinary sweet corn into smoky, caramelized perfection with gorgeous char marks and concentrated flavor that screams summer barbecue.
This foolproof method delivers restaurant-quality results using simple techniques for perfect kernels that are tender inside with a lightly crispy exterior every single time.
Ingredients for Perfect Grilled Corn on the Cob
For the Corn
- 6 ears fresh corn — husks on, silks intact
- Cold water — for soaking husks
- 4 tablespoons butter — salted, room temperature
- 1 teaspoon kosher salt — for finishing
- 1/2 teaspoon black pepper — freshly ground
Optional Add-Ins
- 2 tablespoons fresh herbs (parsley, chives, cilantro)
- 1/2 teaspoon garlic powder
- 1/4 teaspoon smoked paprika
- Lime wedges for serving
- Cotija cheese for sprinkling
How to Make Perfect Grilled Corn on the Cob Step by Step
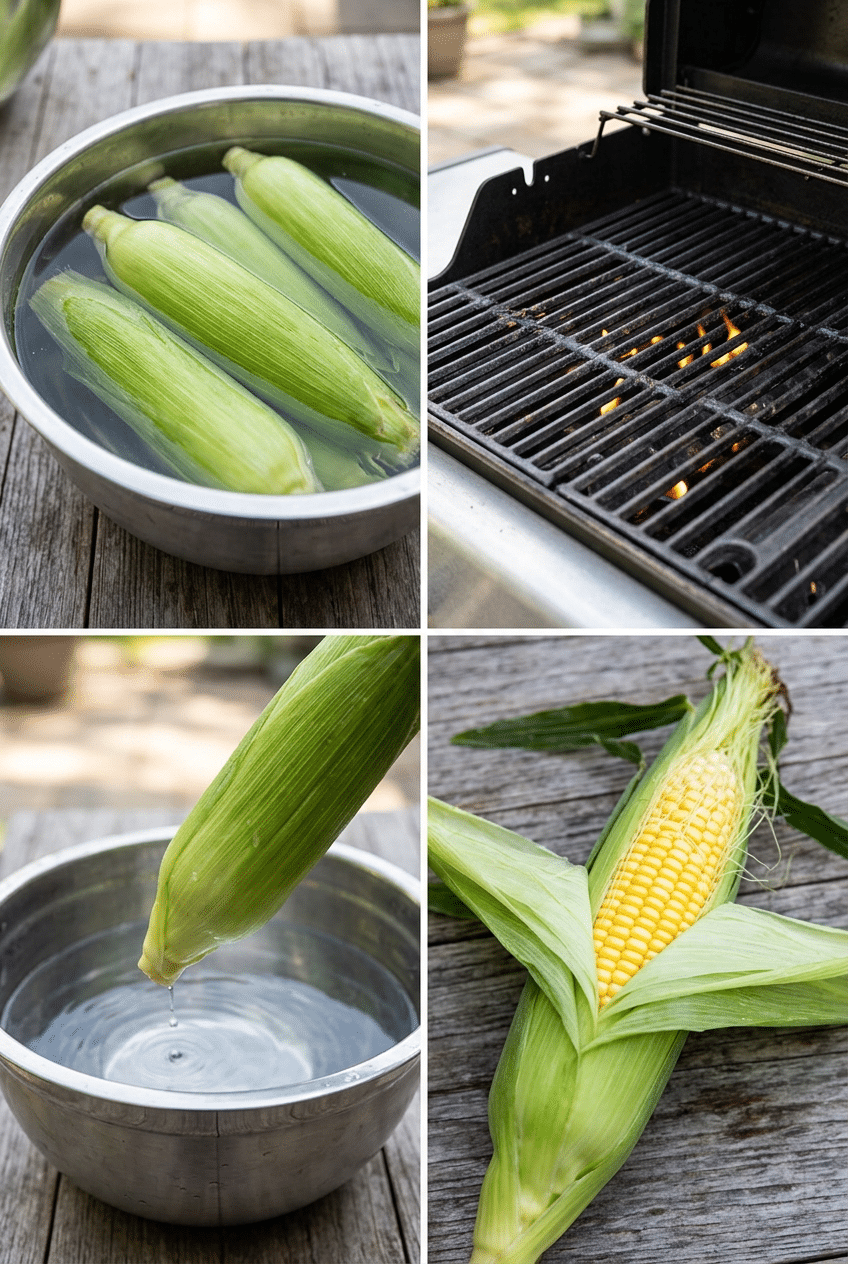
Step 1: Soak the Corn
Submerge the whole ears of corn, husks and all, in a large bowl or sink filled with cold water for 30 minutes minimum. The water penetrates the husks and creates steam during grilling, which prevents burning while ensuring even cooking.
This soaking step is crucial because dry husks catch fire instantly on the grill, ruining your corn before it cooks through. The moisture also helps the kernels steam gently inside their natural wrapper.
If you don’t have a bowl large enough, use your kitchen sink or a large roasting pan. The corn should be completely covered with water — weigh it down with a plate if the ears keep floating to the surface.
Step 2: Prepare the Grill
Heat your grill to medium-high heat, around 400-450°F. Clean the grates thoroughly with a grill brush and oil them lightly to prevent sticking.
Medium-high heat creates the perfect balance — hot enough to char the husks and caramelize the kernels, but not so hot that the outsides burn before the insides cook through. This temperature also allows you to control the char development.
Struggling with uneven heat zones on your grill? The Weber Spirit II E-210 delivers consistent temperature across the entire cooking surface, eliminating hot spots that can burn your corn while leaving other areas undercooked.
Grill brush — Clean grates prevent sticking and ensure beautiful, even char marks on your corn.

- Extra Strong Ergonomic Handle – Still believe that as long as the bristles are stiff enough, the grill cleaning brush ca…
- 5x Faster Clean – Three times more bristles than the traditional bbq grill brush, but also pretty sharp and strong and h…
- Scraper for Stubborn Residuals – Still stuck in the debris that sticks to your favorite grill? No matter how much elbow …
Step 3: Grill the Corn
Remove corn from water and shake off excess. Place directly on the grill grates and cook for 12-15 minutes, turning every 3-4 minutes to ensure even charring on all sides.
You’ll know it’s ready when the husks are deeply charred and blackened in spots, and you can hear the kernels sizzling inside. The husks will pull away slightly from the tips, revealing golden kernels underneath.
Don’t worry about the dramatic charring on the husks — this is exactly what you want. The blackened exterior protects the corn while adding smoky flavor, and the kernels inside remain perfectly tender and sweet.
Tongs — Long-handled tongs keep your hands safe while turning corn frequently for even cooking.

- A STRONG AND PRECISE GRAB: featuring silicone scalloped edges, these kitchen tongs can grab nearly anything; from small …
- SCRATCH RESISTANT SILICONE HEAD: featuring a silicone head, the tongs for cooking are gentle on your nonstick cookware s…
- SLIP RESISTANT HANDLE: kitchen tongs feature a slip resistant, silicone grip that helps you get the best grasp on your f…
Step 4: Check for Doneness
Carefully peel back a small section of husk from one ear to check the kernels. They should be bright yellow, plump, and tender when pierced with a knife tip.
Properly grilled kernels will have a slight give when pressed but shouldn’t be mushy. If they seem tough or starchy, continue grilling for another 2-3 minutes before checking again.
Step 5: Rest and Serve
Remove corn from grill and let rest for 3-5 minutes before husking completely. This resting time allows the kernels to finish cooking from residual heat and makes handling easier.
Pull back the charred husks to create natural handles, or remove them entirely. Brush immediately with soft butter while the corn is still hot so it melts and penetrates between the kernels.
Season generously with kosher salt and freshly ground black pepper. The salt enhances the natural sweetness while the pepper adds a subtle heat that complements the smoky char flavors perfectly.
Nutrition Information
- Per serving: 120 calories
- 8g fat
- 12g carbs
- 3g protein
- 2g fiber
Pro Tips
Pull back husks for extra char: After soaking, carefully peel back husks without removing them completely, remove silk, then tie husks back. This exposes kernels to direct heat for beautiful caramelization.
Test kernel doneness: Press a kernel with your fingernail — it should release sweet juice without being mushy. Undercooked kernels feel firm and starchy.
Make compound butter ahead: Mix softened butter with herbs, garlic, or spices and refrigerate. It melts perfectly on hot grilled corn and adds gourmet flavor.
Save the husks: Don’t throw away those charred husks — they make excellent kindling for your next fire or can be composted for garden nutrients.
Control the char: For lighter char, wrap soaked corn in foil with butter and herbs. For maximum char, remove husks entirely and grill directly on grates.
Delicious Variations
Mexican Street Corn (Elote)
After grilling, brush with mayonnaise, sprinkle with cotija cheese, chili powder, and lime juice. This classic Mexican preparation adds creamy, tangy, and spicy elements that complement the smoky corn perfectly.
Herb Butter Corn
Mix softened butter with chopped fresh herbs like parsley, chives, basil, or cilantro, plus minced garlic and lemon zest. The herbs add brightness while the garlic provides savory depth.
Parmesan Pepper Corn
Brush hot grilled corn with olive oil, then roll in freshly grated Parmesan cheese and cracked black pepper. The cheese creates a salty, nutty crust that adheres beautifully to the warm kernels.
Honey Chipotle Corn
Combine honey with minced chipotle peppers in adobo sauce for a sweet-heat glaze. Brush on during the last few minutes of grilling for a caramelized, spicy-sweet finish.
Storage Instructions
Refrigerator
Store leftover grilled corn in the refrigerator for up to 4 days. Wrap individually in plastic wrap or store in an airtight container. The kernels will lose some of their crisp texture but maintain their smoky flavor. Reheat gently in the microwave for 30-60 seconds or cut kernels off the cob for use in salads, salsas, or soups.
Freezer
Cut kernels off the cob and freeze in freezer bags for up to 6 months. Frozen grilled corn kernels work excellently in winter soups, chilis, and casseroles, retaining much of their smoky flavor. Don’t freeze whole ears as the texture becomes mushy when thawed. Label bags with the date and use within 6 months for best quality.
Make-Ahead
You can soak corn up to 4 hours ahead of grilling — just keep it refrigerated in the soaking water. For parties, grill corn completely and keep warm wrapped in foil in a low oven (200°F) for up to 2 hours. The residual heat continues to steam the kernels gently while maintaining their texture and preventing them from drying out.
For food safety guidelines, visit USDA Corn Safety Guidelines.
Frequently Asked Questions
Should I remove the silk before grilling corn on the cob?
Leave the silk on during grilling — it protects the kernels and pulls away easily after cooking. The silk actually helps create steam inside the husk, contributing to even cooking. When you peel back the charred husks after grilling, the silk will come away cleanly with minimal effort, leaving perfectly cooked kernels behind.
How do I know when grilled corn on the cob is done?
The husks will be deeply charred and blackened, and you’ll hear sizzling from inside. Peel back a small section to check — kernels should be bright yellow, plump, and tender when pierced. Properly cooked kernels release sweet juice when pressed with a fingernail but aren’t mushy. Total cooking time is typically 12-15 minutes with regular turning.
Can I grill corn on the cob without soaking the husks?
While possible, soaking prevents the husks from burning too quickly and creates steam for even cooking. Without soaking, husks catch fire almost immediately, potentially burning before kernels cook through. If you must skip soaking, wrap each ear in foil with butter and seasonings, or remove husks entirely and grill directly on oiled grates, turning frequently.
What’s the best way to remove silk from grilled corn?
After grilling, let corn cool for 3-5 minutes, then peel back the charred husks starting from the top. Most silk will come away with the husks naturally. For stubborn silk strands, use a clean kitchen towel to rub them off — the cooked silk removes much more easily than raw silk and won’t stick to the kernels.
More Recipes You Will Love
👉 Perfect Grilled Chicken Kabobs Recipe
👉 Perfect Potato Salad Recipe (Classic Creamy Style)
👉 Perfect Coleslaw Recipe (Creamy & Crunchy)
👉 Perfect Watermelon Feta Salad Recipe (Summer Fresh)
This perfect grilled corn on the cob recipe delivers restaurant-quality results every single time with minimal effort and maximum flavor. The combination of properly soaked husks, medium-high heat, and frequent turning creates that ideal balance of smoky char and tender sweetness that makes summer barbecues unforgettable. Try this technique at your next cookout and watch everyone ask for your secret — then share this recipe with them!