
🛑 Stop! Don’t Have a Ninja Creami Yet?
This recipe strictly requires a Ninja Creami machine. Because of how the machine shaves ice, you cannot make this in a regular blender, food processor, or traditional ice cream maker.
If you are here because you keep seeing viral Creami recipes and are on the fence about buying one, read this first: Before you spend $200+, check out our Ninja Creami Review: 6-Month Test & Model Comparison. We break down exactly which model is actually worth the money, which one is the quietest, and how to score it for up to 40% off.
Already have your Creami on the counter? Let’s get to the recipe!
- Prep: 5 Minutes
- Cook: 24 Hours (Freezing)
- Total: 29 Minutes
- Servings: 4 servings
A Quick Note Before You Start
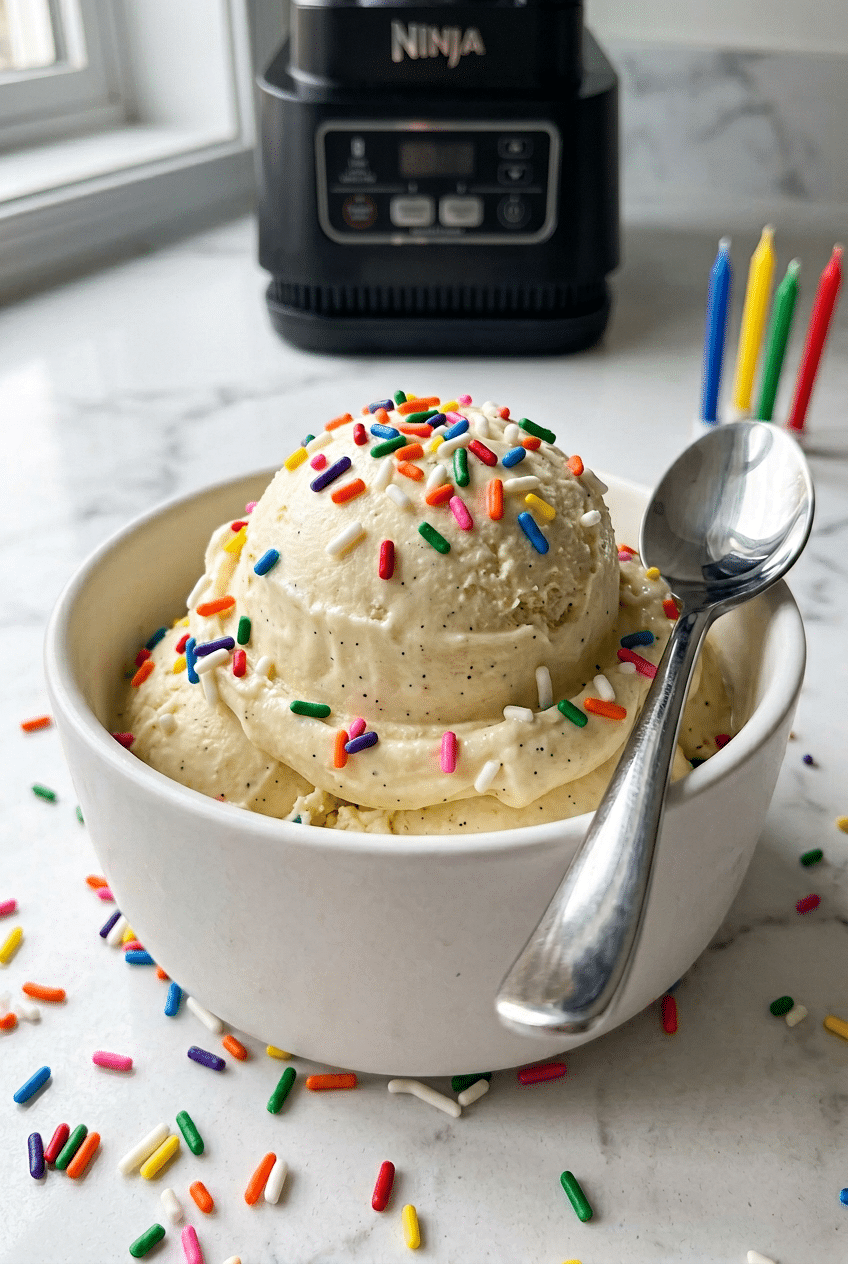
This cake batter protein ice cream tastes like licking the bowl after making birthday cake batter. The key is using vanilla protein powder and cake batter extract for that authentic funfetti flavor.
Cake batter protein ice cream transforms your Ninja Creami into a guilt-free dessert machine, delivering 20 grams of protein per serving while tasting like pure birthday cake nostalgia.
This recipe creates the perfect creamy texture using Greek yogurt and protein powder, avoiding the icy crystals that plague most homemade protein ice creams.
Ingredients for Perfect Cake Batter Protein Ice Cream
For the Base
- 1 cup unsweetened almond milk — creates smooth, creamy texture
- 1/2 cup plain Greek yogurt — adds protein and prevents ice crystals
- 1 scoop (30g) vanilla protein powder — provides structure and cake flavor
- 2 tablespoons sugar-free maple syrup — sweetens without added sugar
- 1/2 teaspoon cake batter extract — creates authentic funfetti taste
- 1/4 teaspoon vanilla extract — enhances cake flavor
- 1/8 teaspoon salt — balances sweetness
Optional Add-Ins
- 2 tablespoons rainbow sprinkles
- 1 tablespoon sugar-free cake mix powder
- 1/4 teaspoon almond extract
How to Make Cake Batter Protein Ice Cream Step by Step
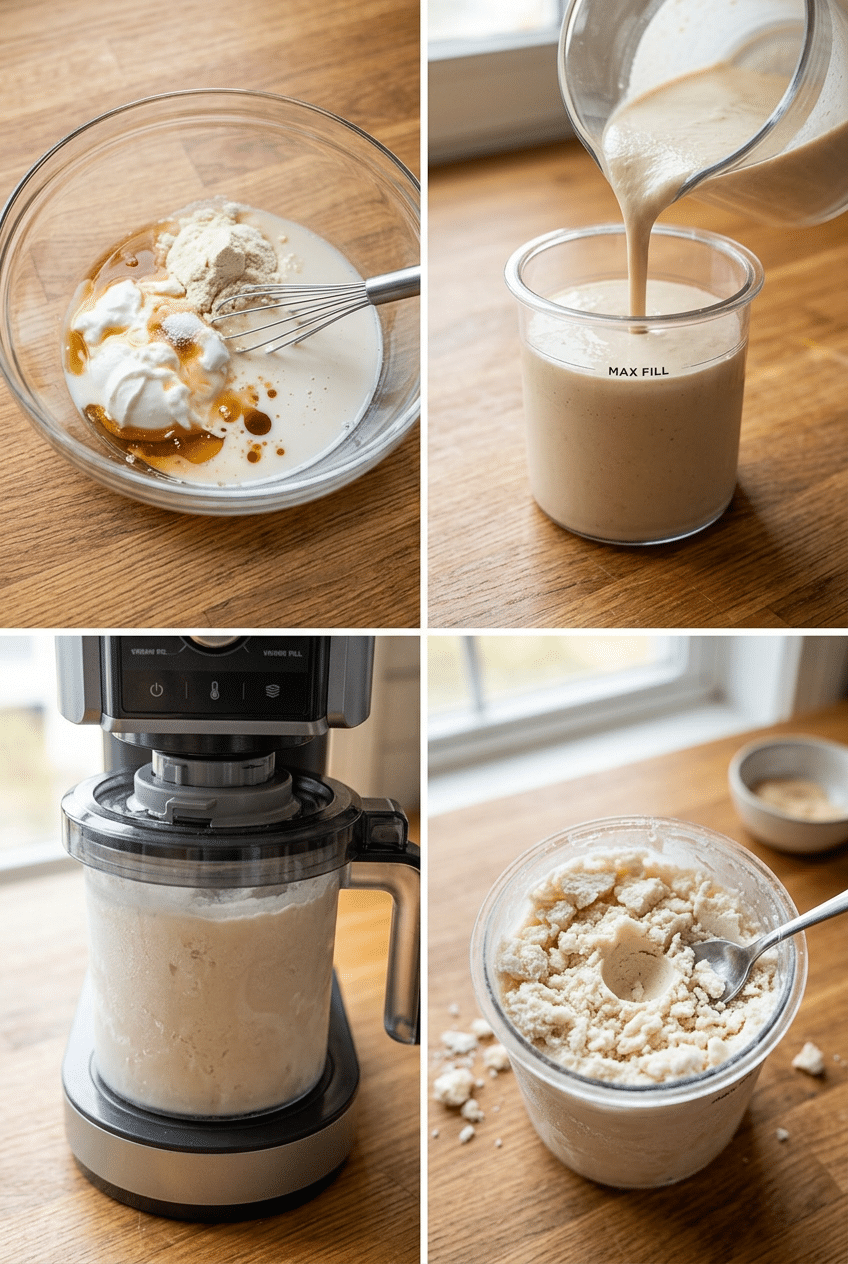
Step 1: Blend the Base
Add almond milk, Greek yogurt, protein powder (I highly recommend PEScience Cake Pop Protein for the most authentic flavor), maple syrup, McCormick Cake Batter Extract, vanilla extract, and salt to a blender or mixing bowl. Blend on medium speed for 30 seconds until completely smooth with no protein powder lumps visible. The mixture should look like pale yellow cake batter and smell like birthday cake.
Proper blending prevents grittiness in your final ice cream. Protein powder needs thorough mixing to dissolve completely, otherwise you’ll bite into chalky pockets that ruin the creamy texture.
💡 Stop Hand-Whisking Protein! Hand whisking for 3 minutes straight gets exhausting and often leaves lumps that won’t dissolve properly. If you’re mixing by hand and struggling with protein powder clumps, the NutriBullet Pro 900 Series breaks down protein powder instantly with its powerful motor. It is a massive time-saver for Creami prep!

- With 900 Watts of power, the nutribullet Pro is faster and stronger than the original, but just as simple to use. Load i…
- NUTRITION IN NO TIME: Effortlessly blend fruits, vegetables, liquids and so much more into nutritious smoothies, simply …
- POWER YOUR DAY: 900 watts of power in this compact powerhouse turns anything from strawberries to spinach into smooth, s…
Step 2: Pour and Freeze
Pour the blended mixture into your Ninja Creami pint container, filling to the max fill line. Tap the container gently on the counter to release air bubbles, then secure the lid tightly. Place in your freezer for at least 24 hours until completely frozen solid.
💡 The #1 Ninja Creami Mistake to Avoid Waiting 24 hours is the hardest part. If you only have the two containers that came with your machine, you’ll constantly be waiting a whole day just to make your next batch! I highly recommend grabbing an extra 4-Pack of Official Ninja Creami Pints. (Make sure to buy the official Ninja ones, as cheap knockoffs can strip your machine’s blade!)
The mixture must freeze completely solid or the Ninja Creami blade will struggle to process it properly. A partially frozen base creates chunky, uneven texture instead of smooth ice cream. Mark your freezer calendar because waiting is the hardest part. The base needs to be rock-hard frozen, not just firm around the edges with a soft center.
Step 3: Process First Spin
Remove the frozen pint from the freezer and install it in your Ninja NC301 CREAMi Ice Cream Maker. Select the ‘Ice Cream’ function and let the machine run its full cycle, about 2 minutes. The unique blade system will shave and mix the frozen base into an ice cream consistency that no other home ice cream maker can replicate.

- 7-IN-1 ICE CREAM MAKER — A FROZEN TREAT FOR EVERY CRAVING: Choose from 7 one-touch programs — Ice Cream, Gelato, Sorbe…
- CREAMIFY TECHNOLOGY — INCREDIBLY SMOOTH, CREAMY RESULTS: Ninja’s exclusive Creamify Technology finely shaves through a …
- MAKE IT YOUR WAY — TOTAL INGREDIENT CONTROL: Create protein-packed ice cream, low-sugar sorbet, dairy-free treats, and …
The first spin transforms your frozen block into edible ice cream, but it might look slightly crumbly or have some frozen chunks. This is completely normal for protein ice cream bases. Don’t panic if the texture looks rough after the first spin. Protein ice cream always needs a second processing cycle to achieve that perfectly smooth, scoopable texture you’re craving.
Step 4: Perfect the Texture
If the ice cream looks crumbly or has frozen bits, use a spoon to break up any large chunks and create a small well in the center. Add 1-2 tablespoons of almond milk to the well, then run the ‘Re-spin’ cycle. This second processing creates a perfectly smooth, creamy texture.
The re-spin with added liquid is crucial for protein ice cream success. The extra moisture helps the blade incorporate everything into that premium ice cream texture you get from store-bought pints.
Add your Rainbow Jimmies Sprinkles now if using them. Fold them in gently with a spoon after the re-spin cycle, so they don’t get chopped up by the blade but still distribute evenly throughout. (Pro tip: Slip your finished pint into a Neoprene Creami Pint Koozie Sleeve so your hands don’t freeze while you eat your cake batter creation!)
Nutrition Information
- Per serving: 95 calories
- 2g fat
- 8g carbs
- 12g protein
Pro Tips
Freeze Completely: Your base must be frozen solid for 24+ hours. Test by tapping the container – it should sound like tapping a rock, not have any give when pressed.
Don’t Skip Greek Yogurt: The Greek yogurt prevents ice crystals and adds protein while keeping the texture creamy. Regular yogurt creates a more icy final product.
Cake Batter Extract is Key: This specialized extract creates authentic funfetti flavor that vanilla alone can’t achieve. Find it in the baking aisle near vanilla extract.
Room Temperature Mixing: Let your Greek yogurt come to room temperature before blending. Cold yogurt creates lumps that are harder to smooth out completely.
Perfect Protein Powder: Vanilla whey or casein protein works best. Avoid plant proteins which can create grittier texture in frozen applications.
Delicious Variations
Chocolate Cake Batter
Replace vanilla protein with chocolate protein powder and add 1 tablespoon unsweetened cocoa powder. Use chocolate cake batter extract instead of vanilla cake batter extract for rich chocolate birthday cake flavor.
Strawberry Cake Batter
Add 2 tablespoons freeze-dried strawberry powder and use strawberry protein powder. Include pink food coloring for that classic strawberry cake appearance with real strawberry flavor throughout.
Funfetti Explosion
Fold in 3 tablespoons rainbow sprinkles after the final spin, plus add 1 tablespoon actual vanilla cake mix powder to intensify that bakery cake flavor. Top with extra sprinkles for Instagram-worthy presentation.
Storage Instructions
Refrigerator
This ice cream doesn’t store well in the refrigerator as it will melt and separate. If it melts, you can refreeze and process again in the Ninja Creami, but the texture won’t be quite as smooth as the first time.
Freezer
Store covered in the freezer for up to 1 month. The ice cream will become very hard after extended freezing. Let it sit at room temperature for 2-3 minutes before scooping, or run a quick 30-second re-spin cycle in the Ninja Creami to restore creamy texture.
Make-Ahead
The beauty of this recipe is that you must make it ahead! Prepare the base up to 3 days before you want to eat it. The longer freeze time actually improves the final texture, so making it 2-3 days ahead often yields even creamier results.
For food safety guidelines, visit FDA Protein Requirements.
Frequently Asked Questions
Why is my cake batter protein ice cream crumbly after the first spin?
This is completely normal for protein ice cream! The high protein content creates a denser frozen base that needs a re-spin cycle with 1-2 tablespoons of liquid to achieve smooth, creamy texture. Never judge protein ice cream after just the first spin – it always needs that second processing.
Can I use plant-based protein powder for this recipe?
Yes, but the texture will be slightly different. Plant proteins tend to create a more grainy texture in frozen applications. Pea protein works better than rice protein. You may need an extra tablespoon of liquid during re-spin to achieve optimal creaminess.
What if I don’t have cake batter extract?
You can substitute with 1/4 teaspoon additional vanilla extract plus 1/4 teaspoon almond extract for a similar bakery flavor. Some people add 1 tablespoon of actual vanilla cake mix powder, but this increases carbs and calories significantly while changing the nutritional profile.
More Recipes You Will Love
👉 Perfect Strawberry Shortcake Recipe (Fluffy Biscuits)
👉 Perfect Tiramisu Recipe (Classic Italian)
👉 Perfect Lemon Blueberry Scones Recipe (Bakery Style)
This cake batter protein ice cream proves you don’t need to sacrifice flavor for nutrition. The Ninja Creami transforms simple ingredients into dessert magic that tastes like childhood birthday parties. Try this recipe tonight and let me know in the comments which variation becomes your favorite!