
- Prep: 15 Minutes
- Cook: 0 Minutes
- Total: 15 Minutes
- Servings: 8 servings (4 cups)
A Quick Note Before You Start
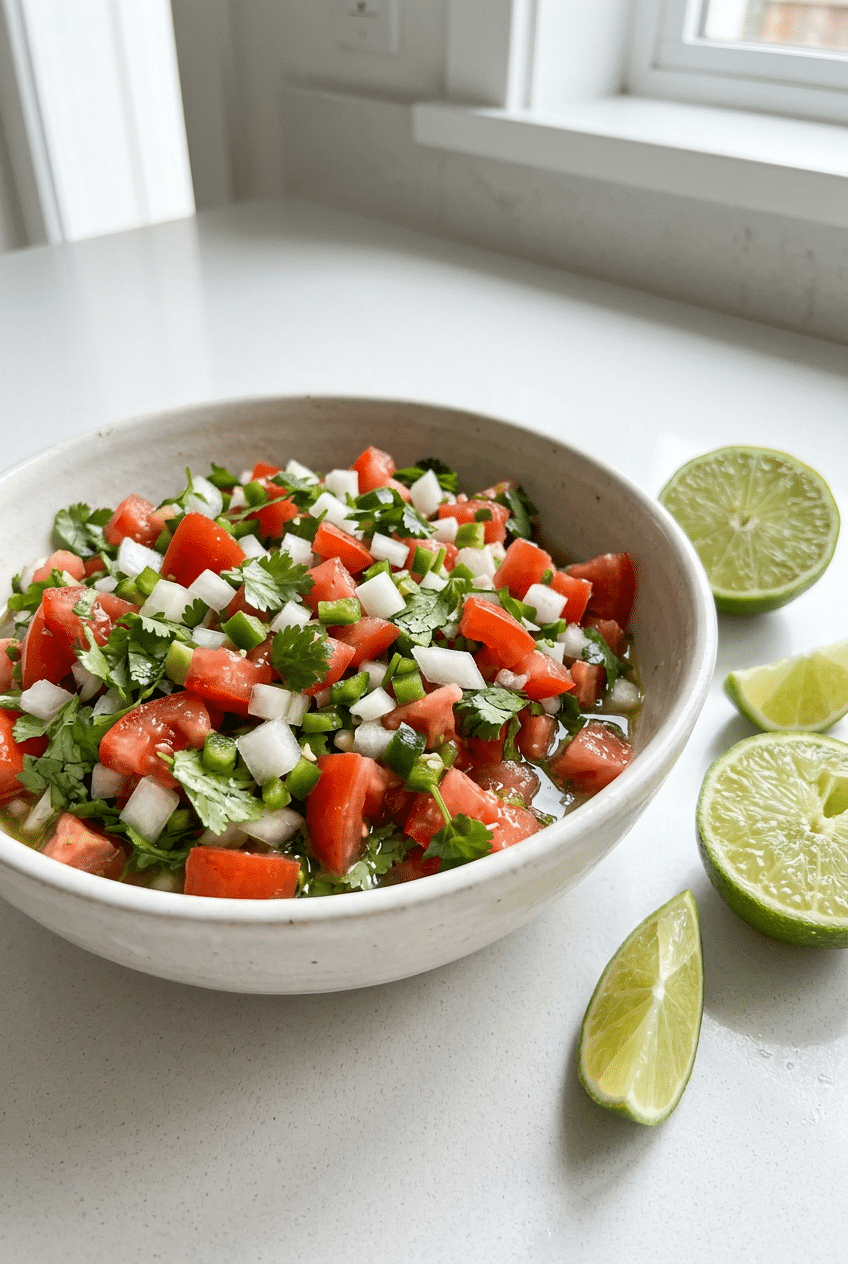
This authentic pico de gallo recipe creates restaurant-quality salsa that tastes better the next day. Let it marinate for maximum flavor development.
Pico de gallo is a popular Mexican salsa also known as “Salsa Fresca” or “Salsa Cruda,” traditionally made with equal parts tomatoes and onion, fresh cilantro and lime juice. The name literally means “rooster’s beak,” though there’s no definitive reason why we call it that.
The key to traditional pico de gallo is letting it rest – combine all ingredients, cover and refrigerate for a day so tomatoes juice up and flavors meld for flavor-packed bites. This technique transforms simple ingredients into something extraordinary.
Ingredients for Perfect Pico de Gallo
For the Authentic Pico de Gallo
- 4 large Roma tomatoes (about 2 lbs) — firm texture with less juice compared to other tomatoes, prevents soggy pico
- 1 medium white onion, finely diced (about 1 cup) — most authentic choice because it’s crisp, sharp, and less sweet than other varieties
- 2 jalapeño peppers, seeded and minced — traditionally serrano peppers are used, but jalapeños work for milder heat
- 1/2 cup fresh cilantro, finely chopped — imparts that unmistakable Mexican flavor
- 3-4 tablespoons fresh lime juice (about 2 limes) — fresh cilantro and lime juice are a must for authentic pico de gallo
- 1 teaspoon kosher salt, or to taste — salt draws out flavor and liquid from tomatoes and tones down the bite of raw onion
Optional Add-Ins
- 1 clove garlic, minced
- 1/4 teaspoon black pepper
- 1 serrano pepper for extra heat
How to Make Perfect Pico de Gallo Step by Step
Step 1: Prep the Tomatoes Right
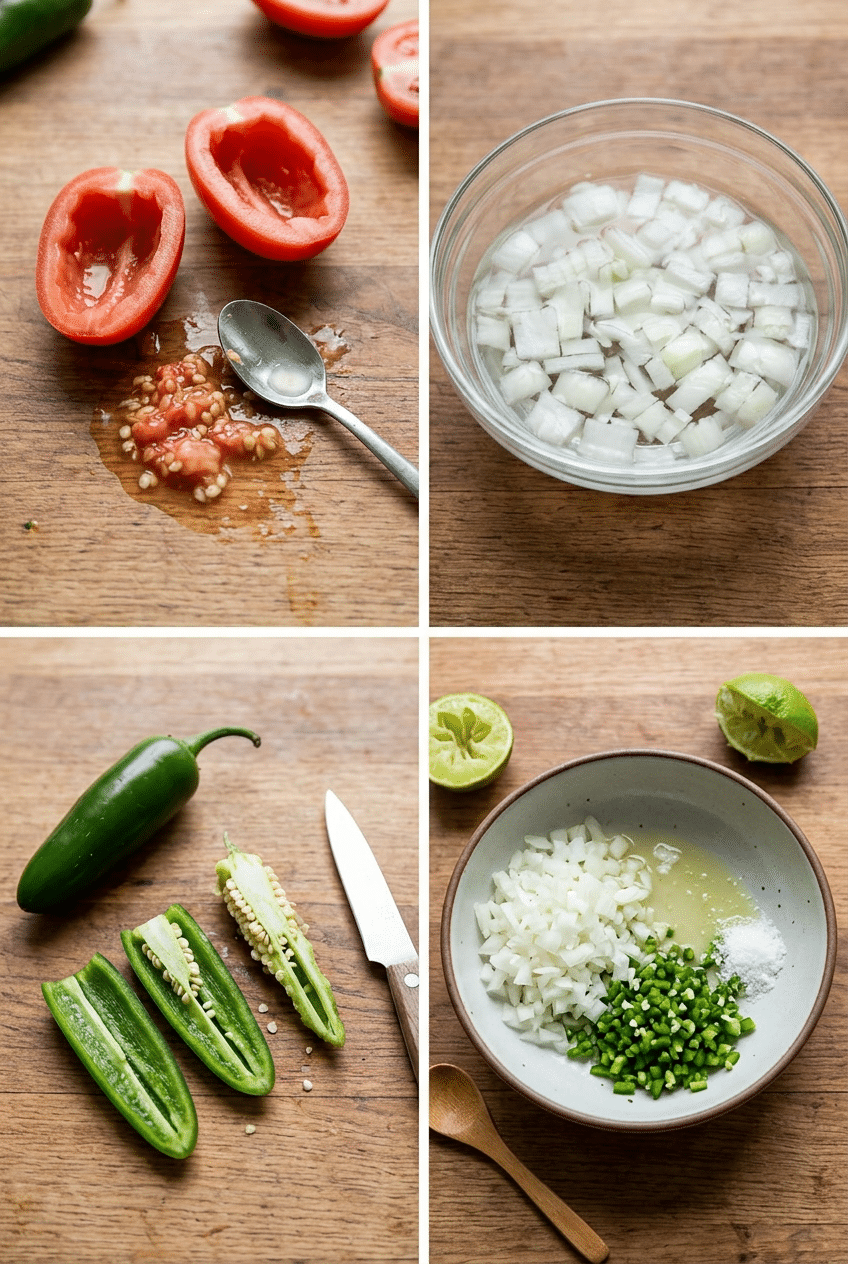
Halve the Roma tomatoes vertically and use a spoon to remove the seeds and watery pulp to ensure a crisp, non-soggy consistency. Dice the tomato flesh into uniform 1/4-inch cubes. This seeding step is crucial because it prevents your pico from becoming watery and maintains that perfect chunky texture.
You don’t want your pico to be too watery, so make sure to remove the seeds from the tomatoes as you dice them. The seeds contain most of the liquid that would otherwise make your salsa soggy after sitting. Use the tomato flesh, not the seeds and juices.
Dicing tomatoes perfectly by hand takes forever and leaves your cutting board a watery mess. Hand-chopping everything very finely ensures that you can get all the flavors on one chip, and while a food processor might expedite the process, you may end up with a more pulverized texture. The OXO Good Grips 3-Piece Mixing Bowl Set gives you the perfect non-reactive surface for combining ingredients, and the nested design saves precious counter space.

- 3-Piece Set includes 1.5-quart, 3-quart and 5-quart Mixing Bowls
- 1-1/2-quart size perfect for whisking eggs or salad dressings, 3-quart size designed for use with electric mixers, 5-qua…
- Non-skid bottoms stabilize Bowls while mixing, even on a tilt
Step 2: Master the Onion Technique
To remove the raw bite of your onion, add the chopped onion to a bowl with cold water. Leave for 10 minutes, drain and rinse. This optional step mellows the sharp onion flavor without losing that signature crunch.
Rinse the onion under cold water to soften the raw bite without losing crunch, because raw white onion can overpower everything. Allow the mixture to rest so salt can draw out tomato juices and mellow the sharp bite of raw onion.
Crying over onions while trying to achieve that perfect fine dice is miserable. Those watery eyes make precision impossible, leading to uneven chunks that overpower delicate tomato flavors. The Vidalia Chop Wizard cuts onions into perfect uniform pieces in seconds, and its enclosed design traps those tear-inducing vapors so you can dice with dry eyes and restaurant precision.
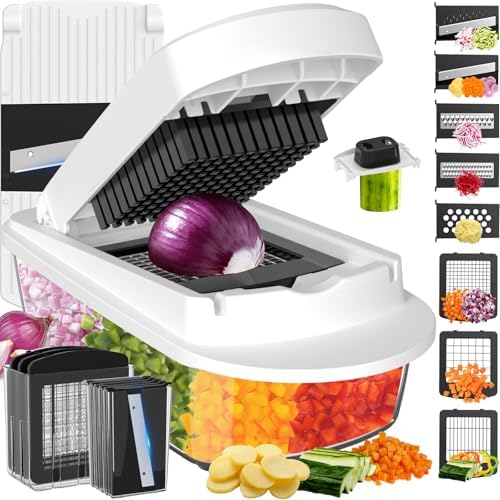
- 【Game Changer for Cooking】This 8-Blade All in One vegetable chopper makes slicing, dicing, and chopping quick and effort…
- 【Premium Materials】Crafted from food-safe, BPA-free ABS plastic and sharp stainless steel, the sturdy veggie chopper del…
- 【Neat and Stable】Comes with a 17L container, it keeps everything neat so there’s no mess on the counter. And the non-sli…
Step 3: Handle Peppers Safely
Using a small knife, slice down each side of the pepper to remove the flesh, leaving the seeds and most of the veins behind. Mince the flesh and set aside the seeds if you want to add more heat later. This technique gives you complete control over spice level.
All of the seeds and most of the veins should remain in the core. Reserve the seeds in case you want to add more heat to the salsa. Definitely wash your hands well after cutting the pepper and do not touch your eyes.
Jalapeño oils burn your fingers for hours and accidentally touching your eyes later creates agony that lasts all evening. Use gloves or a ziploc bag to cover your hands when seeding and handling hot peppers. These Nitrile Disposable Gloves create a perfect barrier against capsaicin oils while maintaining the dexterity needed for precise mincing, and they’re food-safe and puncture-resistant.

Step 4: Combine and Marinate
In a medium serving bowl, combine the chopped onion, jalapeño, lime juice and salt. Let it marinate for about 5 minutes while you chop the tomatoes and cilantro. Add the chopped tomatoes and cilantro to the bowl and stir to combine.
For the best flavor, let the mixture marinate for 15 minutes or several hours in the refrigerator. Feel free to make it a few hours ahead so all the natural juices from the tomatoes, onion, lime juice, and pepper marinate together providing more robust flavor. Then stir the salsa a few times before serving.
As the tomatoes and remaining ingredients rest, salt draws moisture out of the ingredients and condenses their flavor. Try your pico de gallo before and after marinating, and you’ll see what I mean! This marinating step is what separates restaurant-quality pico from bland, thrown-together versions.
Nutrition Information
- Per serving (1/2 cup): 18 calories
- 4g carbs
- 1g protein
- 0.1g fat
- 198mg sodium
- 157mg potassium
- 1g fiber
- 2g sugar
- 536IU Vitamin A
- 12mg Vitamin C
Pro Tips
Salt and Rest Technique: Salt does magical things to fresh tomatoes – season your ingredients with salt, then let them sit for 20 minutes on the counter before serving. The salt draws out flavor and liquid and it’s worth the wait!
Tomato Selection Matters: Ripe tomatoes are absolutely key to making great pico de gallo. Sad pink tomatoes do not make good pico de gallo. Roma tomatoes are a good choice since they are less watery.
Fine Chopping Secret: Chop your tomato, onion, jalapeño and cilantro finely and you will be rewarded with more flavor in every bite. This is worth the extra effort!
Make Ahead Advantage: A secret I’ve learned is that the longer it sits and marinates, the better it tastes! If you can, make this ahead of time so the pico de gallo has a chance to chill and really build its flavor. Honestly, this is best the next day.
Serving Pro Move: Serve with a slotted spoon or large serving fork to avoid transferring too much watery tomato juice with your pico. This keeps tortilla chips from getting soggy.
Delicious Variations
Spicy Serrano Version
Serrano pepper is 8,000-22,000 Scoville heat units compared to jalapeños at only 2,500-8,000 SHU. Replace jalapeños with 1-2 serranos for authentic Mexican heat level that restaurants use.
Mango Pico Twist
Replace the tomatoes with diced mango, pineapple, watermelon, peaches, or strawberries. Add 1 cup diced ripe mango for a sweet-savory version perfect with grilled fish or chicken.
Black Bean Pico
Black beans are delicious mixed into pico. Fold in 1/2 cup drained black beans and extra lime juice for a heartier salsa that works as a side dish.
Corn and Avocado Addition
Toss in diced red bell pepper or fresh corn kernels. Add 1/2 cup corn kernels and 1 diced avocado right before serving for extra texture and creaminess.
Storage Instructions
Refrigerator
Pico de gallo keeps well in the refrigerator, covered, for up to 4 days. This will stay good in the fridge for about 3 days, though the salsa will soften and water down a bit as it sits. Store in airtight container and drain excess liquid before serving if needed.
Freezer
Not recommended for freezing as tomatoes and onions will become mushy when thawed. I don’t recommend freezing it. The fresh, crisp texture that makes pico de gallo special is completely lost after freezing and thawing.
Make-Ahead
You can prepare this a few hours early – in fact, the flavor actually improves as it sits. Make up to 24 hours ahead for best flavor development. Cover and refrigerate for a day so tomatoes will juice up and flavors will meld in the fridge.
For food safety guidelines, visit USDA Food Safety Guidelines.
Frequently Asked Questions
What’s the difference between pico de gallo and salsa?
Pico de gallo always uses raw, diced ingredients and is less wet, adding wonderful chunky texture to tacos. Salsa can call for roasted or stewed tomatoes and is generally closer to a purée in texture. Salsa is more of a “sauce” with more liquid while pico de gallo has much less liquid and tends to be more chunky!
Can I use regular tomatoes instead of Roma tomatoes?
Absolutely! However, Roma tomatoes are a good choice since they are less watery. In the winter, you can use cherry tomatoes, which tend to have good flavor year-round, but be prepared to chop them into small pieces. Just be sure to seed any tomato variety thoroughly to prevent excess liquid.
How can I make pico de gallo less watery?
Your pico may be too watery if you did not remove the seeds from the tomatoes. Some people like to salt and strain the tomatoes before combining. If it is too watery, simply strain the salsa through a fine colander. You can always drain it right before serving or serve it with a slotted spoon.
What can I substitute for cilantro in pico de gallo?
You can significantly decrease the amount of cilantro used, or omit it completely if you insist! I don’t recommend substituting parsley here. However, You could totally swap the cilantro for parsley if you have the genetic variant that makes cilantro taste soapy. The flavor won’t be as authentically Mexican, but it will still be delicious.
How long should I let pico de gallo marinate?
Pico needs 15 minutes to rest. The salt draws out juices, the lime melds with the tomato, and the flavours settle into each other. For the best flavor, let the mixture marinate for 15 minutes or several hours in the refrigerator. Many sources agree that it tastes even better the next day after overnight marinating.
More Recipes You Will Love
👉 Homemade Restaurant-Style Charred Salsa
If you make it every week or once a year for Cinco de Mayo, I guarantee you this is the best pico de gallo recipe. The secret is in the technique – proper seeding, fine dicing, and that crucial marinating time. Try this authentic version and taste the difference quality ingredients and traditional methods make. Share your results in the comments below and let me know which variation becomes your family favorite!