
- Prep: 10 Minutes
- Cook: 20 Minutes
- Total: 30 Minutes
- Servings: 12 crepes
A Quick Note Before You Start
Let your batter rest for 30 minutes minimum — this prevents tough, chewy crepes. Room temperature ingredients mix smoother than cold ones.
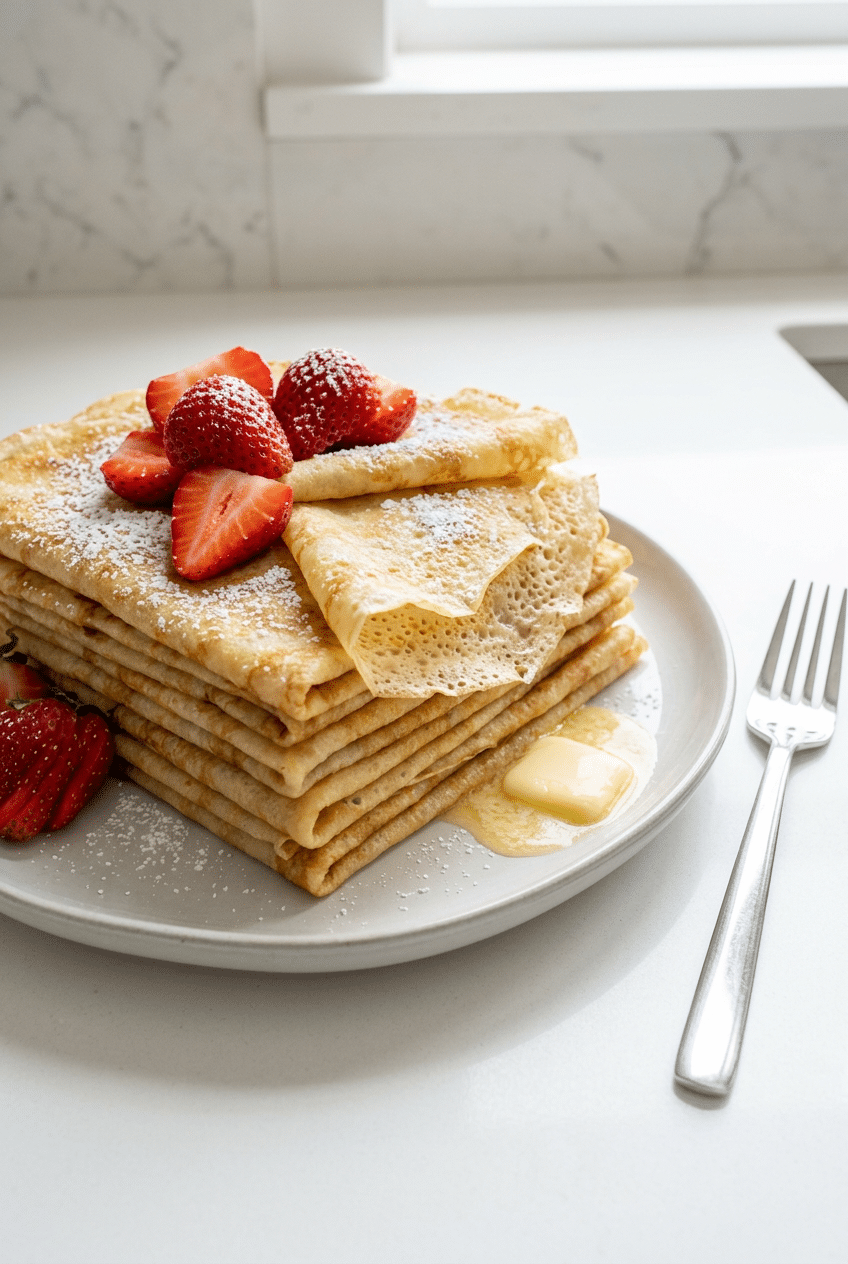
This crepes recipe creates impossibly thin, delicate pancakes that wrap around any filling like silk. French grandmothers guard these technique secrets jealously.
You’ll master the perfect batter consistency, ideal pan temperature, and swirling motion that transforms simple ingredients into restaurant-quality crepes at home.
Ingredients for Perfect French Crepes
For the Crepe Batter
- 1 cup all-purpose flour — provides structure without heaviness
- 1 1/4 cups whole milk — creates tender texture
- 2 large eggs — binds ingredients and adds richness
- 2 tablespoons melted butter — prevents sticking and adds flavor
- 1 tablespoon sugar — enhances browning and adds subtle sweetness
- 1/2 teaspoon salt — balances flavors and strengthens gluten
- 2 tablespoons water — thins batter to perfect consistency
Optional Add-Ins
- 1 teaspoon vanilla extract
- 2 tablespoons rum or cognac
- Zest of 1 lemon
How to Make Perfect Crepes Step by Step
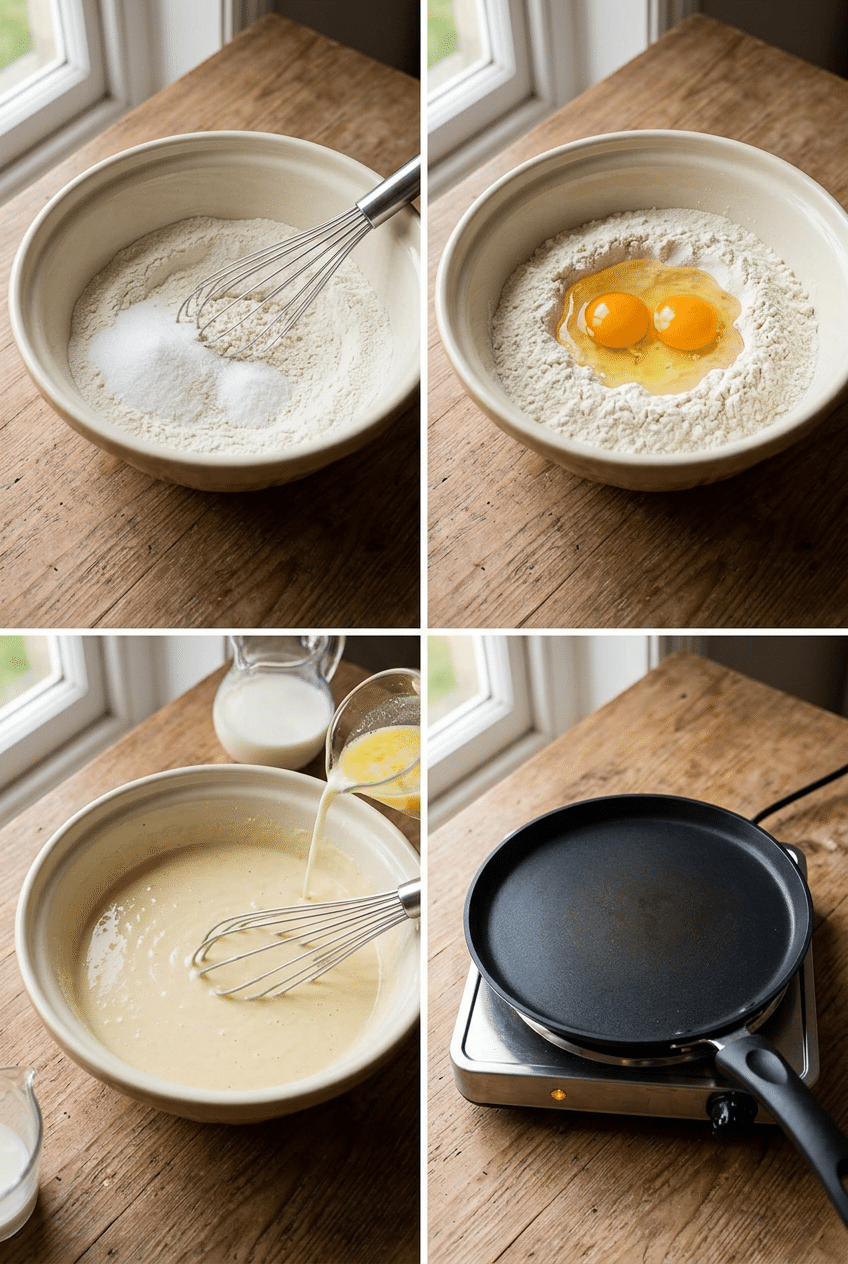
Step 1: Whisk the Dry Ingredients
Combine flour, sugar, and salt in a large mixing bowl, whisking thoroughly to eliminate any lumps. This prevents flour pockets that create thick spots in your finished crepes.
Starting with dry ingredients ensures even distribution throughout the batter. Lumpy flour creates uneven crepes with thick patches that cook at different rates.
Step 2: Create the Batter Base
Make a well in the center of your flour mixture and crack both eggs into it. Pour in half the milk and begin whisking from the center outward, gradually incorporating the flour.
This technique prevents lumps better than dumping all liquids at once. The gradual incorporation creates a smooth paste before thinning with remaining milk.
Whisking by hand takes forever and leaves lumps that ruin crepe texture. The Cuisinart Smart Stick Hand Blender eliminates every single lump in 30 seconds, creating silky-smooth batter that produces restaurant-quality crepes.
Cuisinart Smart Stick Hand Blender — Creates perfectly smooth batter in seconds without the lumps that ruin crepe texture.

- No More Lumpy Chunks: Equipped with a strength 1100W full copper motor, providing for several times significantly strong…
- Easy-to-Use Variable Speed Trigger Design: With a pulse-activated sensor, just follow your intuition to control over the…
- Effortless Clean-Up, Scratch-Free: Features a unique food-grade nylon blade guard designed to minimize suction, preventi…
Step 3: Finish the Batter
Add remaining milk, melted butter, and water while whisking constantly until completely smooth. The batter should flow like heavy cream when lifted with a whisk.
Strain the batter through a fine-mesh sieve to catch any remaining lumps, then cover and rest for 30 minutes minimum. This hydrates the flour and relaxes the gluten for tender crepes.
Resting is crucial — skip this step and your crepes will be tough and chewy instead of delicate. The flour needs time to fully absorb the liquid for proper texture.
Step 4: Heat Your Pan
Heat an 8-inch non-stick skillet or crepe pan over medium heat for 2-3 minutes. Test temperature by sprinkling a few drops of water — they should sizzle and evaporate immediately.
Perfect temperature is crucial for crepes. Too hot burns the outside before the inside sets. Too cool creates thick, doughy crepes that won’t release from the pan.
Most home skillets heat unevenly, creating crepes that brown in patches. The All-Clad D3 Tri-Ply 8-inch skillet distributes heat perfectly across the entire surface, ensuring evenly golden crepes every single time.
All-Clad D3 Tri-Ply 8-inch Skillet — Even heat distribution prevents patchy browning and ensures perfect crepes every time.

- Pre-Seasoned & Ready to Use: The Lodge Cast Iron Griddle comes naturally pre-seasoned and ready to use for tortillas, pa…
- Time-Tested, Even Heat Distribution: This durable cast iron griddle pan supports uniform cooking across the round-shaped…
- Versatile Indoor & Outdoor Cooking: Compatible with stovetops, ovens, grills and camp stoves, this griddle supports seam…
Step 5: Master the Pour
Lightly butter the pan, then pour 1/4 cup batter into the center. Immediately lift the pan off heat and tilt in a circular motion, swirling the batter to coat the entire bottom.
The key is speed — you have about 3 seconds before the batter starts setting. Work quickly to spread it thin across the entire pan surface.
Return to heat and cook for 60-90 seconds until the edges start curling and the bottom is lightly golden. The surface should look set with no wet spots remaining.
Step 6: Perfect the Flip
Run a thin spatula around the edges to loosen, then slide it under one side of the crepe. Lift gently and flip in one confident motion, or grab the edge with your fingers if you’re brave.
Cook the second side for just 30-45 seconds until barely golden. The first side is always prettier, so that’s your presentation side when serving.
Stack finished crepes on a plate, covering with a clean kitchen towel to keep them warm and prevent drying out while you cook the remaining batter.
Nutrition Information
- Per serving: 85 cal
- 3g fat
- 11g carbs
- 3g protein
Pro Tips
Batter Consistency Check: Perfect crepe batter coats a spoon lightly but drips off in a steady stream. Too thick means add milk one tablespoon at a time.
Temperature Test: Your first crepe is always a test. If it browns too fast, lower heat. If it won’t release, increase temperature slightly.
Storage Secret: Place parchment between stacked crepes to prevent sticking. They’ll separate easily even after hours in the fridge.
Swirl Technique: Lift the pan completely off heat when swirling batter. Any contact with the burner starts cooking too quickly for even spreading.
Butter Application: Use a paper towel to wipe butter around the pan instead of adding chunks. This creates an even, thin coating that won’t pool.
Delicious Variations
Chocolate Crepes
Add 2 tablespoons cocoa powder to the dry ingredients and increase sugar to 3 tablespoons. Perfect for dessert crepes with strawberries and whipped cream.
Savory Herb Crepes
Omit sugar and add 2 tablespoons fresh chopped herbs like chives, parsley, or dill. Excellent for wrapping scrambled eggs, cheese, or vegetables.
Buckwheat Galettes
Replace half the flour with buckwheat flour for nutty, earthy galettes. Traditional in Brittany, France, and perfect with ham and cheese fillings.
Orange Crepes
Add zest of 1 orange and 2 tablespoons fresh orange juice, reducing milk by 2 tablespoons. Flambe with Grand Marnier for Crepes Suzette.
Storage Instructions
Refrigerator
Store cooked crepes in the refrigerator for up to 3 days, stacked between parchment paper and wrapped in plastic wrap. Reheat individual crepes in a dry skillet for 30 seconds per side, or wrap the entire stack in damp paper towels and microwave for 45-60 seconds.
Freezer
Freeze crepes for up to 2 months by placing parchment between each crepe, wrapping the stack in aluminum foil, then placing in a freezer bag. Thaw overnight in the refrigerator before reheating. They’ll taste fresh-made when properly stored and reheated.
Make-Ahead
Prepare batter up to 24 hours ahead and store covered in the refrigerator. Stir gently before cooking as ingredients may separate slightly. You can also cook all crepes a day ahead, store properly, and reheat when ready to serve. This actually makes entertaining much easier since you’re not cooking crepes while guests wait.
For food safety guidelines, visit USDA Food Safety Guidelines.
Frequently Asked Questions
Why do my crepes turn out thick and chewy?
Thick crepes usually result from batter that’s too thick or not resting long enough. The batter should flow like heavy cream. If it’s thicker, add milk one tablespoon at a time. Always rest batter 30 minutes minimum to hydrate flour and relax gluten, creating tender crepes instead of tough ones.
How do I prevent crepes from sticking to the pan?
Temperature control is key — medium heat works best. Too high burns the bottom before the crepe sets. Ensure your pan is properly seasoned or use non-stick. Butter the pan lightly between crepes, wiping excess with paper towel. The first crepe often sticks slightly as it seasons the pan.
Can I make crepe batter without a blender?
Absolutely, though it requires more technique. Whisk dry ingredients first, create a well for eggs and half the milk, then whisk from center outward to prevent lumps. Add remaining liquid gradually. Strain through fine mesh to catch any lumps. Hand whisking takes patience but produces excellent results.
What’s the ideal crepe pan temperature?
Medium heat creates perfect crepes. Test by sprinkling water drops — they should sizzle and evaporate immediately. If they sit without sizzling, increase heat. If they pop violently, reduce heat. The pan should be hot enough that batter sets within 60-90 seconds but doesn’t brown too quickly.
More Recipes You Will Love
👉 Perfect Homemade Churros Recipe (Crispy Outside)
👉 Perfect Strawberry Cold Foam Recipe (Starbucks Style)
👉 Perfect Guacamole Recipe (Restaurant Quality)
These French-style crepes transform simple pantry ingredients into elegant, restaurant-quality results. Master the technique once and you’ll have an impressive skill for breakfast, dessert, or dinner. Try this crepes recipe this weekend and share your favorite filling combinations in the comments below!