
- Prep: 20 Minutes
- Cook: 18 Minutes
- Total: 38 Minutes
- Servings: 8 scones
A Quick Note Before You Start
Cold butter is the secret to flaky scones. Pop your bowl and grater in the freezer for 15 minutes before starting for the flakiest results.
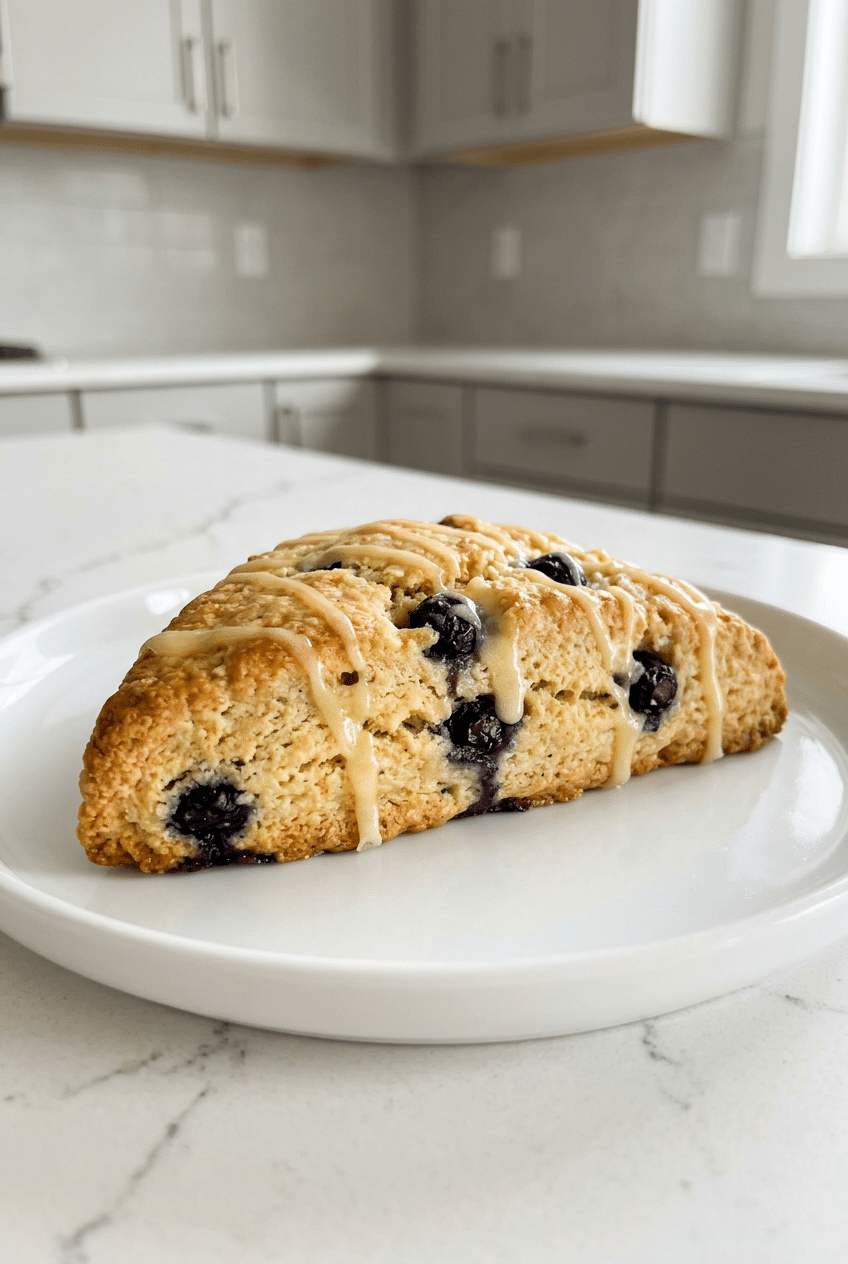
Perfect lemon blueberry scones combine buttery, flaky pastry with bursts of sweet berries and bright citrus zest that makes your kitchen smell like heaven.
These bakery-style scones use a cold butter technique and gentle folding method that creates those coveted flaky layers without overworking the delicate dough.
Ingredients for Perfect Lemon Blueberry Scones
For the Scones
- 2 cups all-purpose flour — creates the structure
- 1/3 cup granulated sugar — adds sweetness and helps browning
- 1 tablespoon baking powder — provides lift and fluffiness
- 1/2 teaspoon salt — enhances all flavors
- 6 tablespoons cold unsalted butter — creates flaky layers when cold
- 1 large egg — binds ingredients and adds richness
- 1/2 cup heavy cream — makes scones tender and moist
- 2 tablespoons fresh lemon juice — provides bright citrus flavor
- 1 tablespoon lemon zest — adds aromatic oils and intense lemon taste
- 1 cup fresh blueberries — bursts of sweet fruit in every bite
For the Lemon Glaze
- 1 cup powdered sugar — creates smooth, sweet coating
- 2-3 tablespoons fresh lemon juice — balances sweetness with tartness
- 1 teaspoon lemon zest — intensifies lemon flavor
Optional Add-Ins
- 1/4 cup white chocolate chips
- 1 teaspoon vanilla extract
- 1/4 teaspoon almond extract
How to Make Lemon Blueberry Scones Step by Step
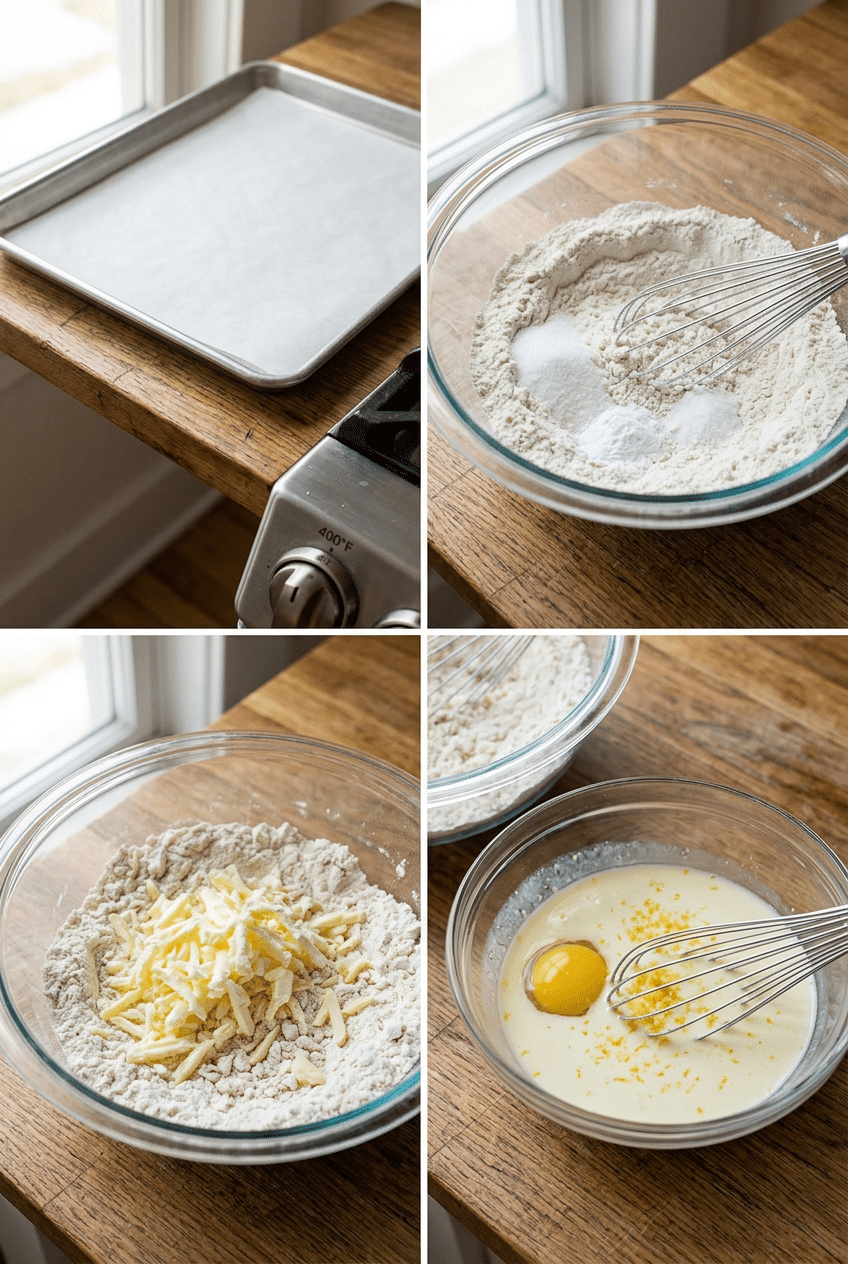
Step 1: Prep Your Ingredients
Preheat your oven to 400°F and line a large baking sheet with parchment paper. Grate the cold butter using the large holes of a box grater, then pop it back in the freezer while you prep everything else. This keeps the butter pieces distinct and cold, which creates those flaky layers we’re after.
Cold butter is absolutely critical for flaky scones. When cold butter hits the hot oven, it creates steam pockets that lift the dough into tender, layered pastry instead of dense cake.
Struggling with a standard box grater that slips around and threatens your knuckles? The OXO Good Grips Box Grater has a non-slip base and comfortable grip that makes grating cold butter safe and effortless, plus the etched holes stay sharp through years of use.
Box grater — Essential for creating the cold, uniform butter pieces that make scones flaky rather than dense.

- Makes Everything Simple : Just forget your bagged cheese! Only turn the handle for several times and get fresh shredded …
- Premium Material : All parts of the rotary cheese grater are made of food grade ABS material, no BPA. The three blades a…
- Three Option Grater : The parmesan cheese grater finishes food preparation with slicing, shredding and grinding blade ea…
Step 2: Mix Dry Ingredients
In a large mixing bowl, whisk together flour, sugar, baking powder, and salt until completely combined. Make sure there are no lumps of baking powder visible, as these can create bitter pockets in your finished scones.
Proper mixing of dry ingredients ensures even distribution of leavening agents. This prevents some scones from being flat while others are too puffy, giving you consistent results across the entire batch.
Step 3: Cut in Cold Butter
Add the grated frozen butter to your flour mixture and toss with your fingers until each piece is coated with flour. Using your fingertips, quickly rub the butter into the flour until the mixture looks like coarse breadcrumbs with some pea-sized butter pieces remaining.
Don’t overwork this step. Those visible butter pieces will create steam in the oven, resulting in the flaky texture that separates good scones from great ones.
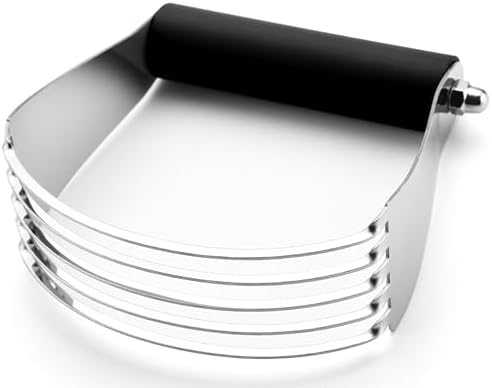
A pastry cutter can speed up this process if you’re making scones regularly. The Williams Sonoma Pastry Blender cuts butter into flour in half the time with less hand warmth transfer, keeping your butter colder for flakier results.
Pastry cutter — Cuts butter into flour faster while keeping it colder than using your hands.
- Better Than Your Grandma’s Dough Blender – Solid dough blender for cutting cold butter into flour or sugar when making f…
- Wow The Crowd With Impressive Results – Achieve better texture and taste from all of your baked goods. Make flakier and …
- Heavy Duty Without Being Heavy – The dough blender cuts through cold butter beautifully, making it a must-have tool for …
Step 4: Prepare Wet Ingredients
In a separate bowl, whisk together the egg, heavy cream, lemon juice, and lemon zest until smooth. The mixture should be pale yellow and slightly frothy from the egg being well incorporated.
Room temperature eggs mix more easily, but if yours are cold, place the whole egg in a bowl of warm water for 5 minutes. This prevents the cold egg from hardening your butter pieces when mixed.
Step 5: Fold in Berries
Gently toss the blueberries with a tablespoon of flour from your dry mixture until each berry is lightly coated. This prevents the berries from sinking to the bottom during baking and helps them distribute evenly throughout the scones.
Frozen berries work too, but don’t thaw them first. Frozen berries hold their shape better and release less juice, preventing purple streaks in your dough.
Step 6: Combine Wet and Dry
Pour the wet ingredients into the flour-butter mixture and use a fork to gently stir until the dough just starts to come together. Add the flour-coated blueberries and fold them in with minimal mixing. The dough should look shaggy and slightly dry with visible butter pieces.
Overmixing is the enemy of tender scones. Stop mixing as soon as you can’t see dry flour. The dough will look rough and that’s exactly what you want for the most tender results.
Step 7: Shape the Dough
Turn the shaggy dough onto a lightly floured surface and gently pat it into a rough circle about 8 inches across and 1 inch thick. Use your hands rather than a rolling pin to avoid overworking the dough. The circle doesn’t need to be perfect.
Using a sharp knife or bench scraper, cut the circle into 8 triangular wedges like you’re cutting a pizza. Clean cuts prevent the edges from sealing and allow the scones to rise properly during baking.
Step 8: Final Prep and Bake
Place the scone wedges on your prepared baking sheet, leaving about 2 inches between each piece. Brush the tops lightly with cream or milk for a golden finish, then bake for 16-18 minutes until the tops are golden brown and the scones feel firm when gently pressed.
Don’t overbake these beauties. They’ll continue cooking slightly from residual heat after you remove them, so err on the side of slightly underdone rather than dry and crumbly.
A reliable oven thermometer ensures your scones bake at the correct temperature. The Taylor Classic Oven Thermometer shows you exactly what’s happening inside, preventing the frustration of flat scones from too-cool ovens or burnt bottoms from hot spots.
Oven thermometer — Ensures accurate baking temperature for perfectly golden, properly risen scones every time.

- Instant Read Food Thermometer | Our instant read thermometer features a temperature probe and advanced, highly accurate …
- Multi-Use | From bbq thermometer to baking thermometer, our digital food thermometer for cooking is perfect for meats, l…
- Easy-Read Digital Thermometer For Cooking | Large instant thermometer dial with bright blue backlight means you can alwa…
Step 9: Make the Glaze
While the scones cool for 10 minutes, whisk together powdered sugar, lemon juice, and lemon zest in a small bowl. Start with 2 tablespoons of lemon juice and add more if needed to reach a drizzling consistency that coats the back of a spoon.
The glaze should be thick enough to stay put but thin enough to drizzle beautifully. Test by dipping a spoon and seeing if it creates ribbons when lifted above the bowl.
Step 10: Glaze and Serve
Drizzle the lemon glaze over the slightly warm scones using a spoon or fork. Let the glaze set for 5 minutes before serving. The contrast between the tangy glaze and sweet, buttery scone with bursts of blueberry creates the perfect bite every time.
Serve these beauties while still slightly warm for the ultimate experience. The butter will still be soft, the berries will be jammy, and the glaze will have just the right consistency.
Nutrition Information
- Per serving: 285 cal
- 12g fat
- 42g carbs
- 5g protein
Pro Tips
Freeze your bowl: Pop your mixing bowl in the freezer for 15 minutes before starting. This keeps everything cold and prevents the butter from melting as you work, resulting in flakier layers.
Don’t skip the flour coating: Tossing blueberries in flour before folding them in prevents them from bleeding purple juice throughout the dough and helps them stay suspended instead of sinking.
Test doneness properly: Gently press the top of a scone with your finger. It should feel set and spring back slightly. If it leaves an indent, bake for 2-3 more minutes.
Make ahead magic: Form the scones and freeze them on a baking sheet. Once solid, transfer to a freezer bag and bake directly from frozen, adding 2-3 extra minutes to the baking time.
Glaze timing matters: Apply glaze to slightly warm scones, not hot ones. Hot scones will make the glaze too thin and runny, while completely cool scones won’t absorb the glaze properly.
Delicious Variations
Orange Cranberry Scones
Replace lemon zest and juice with orange zest and juice, and swap blueberries for dried cranberries. The orange pairs beautifully with tart cranberries for a festive twist perfect for holiday brunches.
Double Lemon Scones
Skip the blueberries and add an extra tablespoon of lemon zest plus 2 tablespoons of finely chopped candied lemon peel. These intensely lemony scones are perfect for citrus lovers who want maximum pucker power.
Chocolate Chip Lemon Scones
Replace blueberries with white chocolate chips for a sweeter version. The white chocolate complements the lemon beautifully without overwhelming the delicate citrus flavor like dark chocolate might.
Mixed Berry Scones
Use a combination of blueberries, raspberries, and blackberries for varied flavors and textures. Reduce total berries to 3/4 cup since raspberries and blackberries are larger than blueberries.
Storage Instructions
Refrigerator
Store leftover scones in an airtight container in the refrigerator for up to 3 days. The glaze may absorb slightly, but they’ll still taste delicious. Warm individual scones in the microwave for 15-20 seconds to restore their tender texture, or reheat in a 300°F oven for 5 minutes to crisp up the exterior.
Freezer
Freeze baked scones for up to 3 months in a freezer-safe container with parchment paper between layers. Thaw overnight in the refrigerator, then reheat in a 300°F oven for 8-10 minutes. You can also freeze unbaked shaped scones on a baking sheet, then transfer to freezer bags once solid. Bake directly from frozen, adding 2-3 minutes to the original baking time.
Make-Ahead
Prepare the dry ingredients and wet ingredients separately up to 2 days ahead, storing them covered in the refrigerator. Grate the butter and freeze it in a container. When ready to bake, combine everything and proceed with the recipe. This method ensures maximum freshness while saving time on busy mornings.
For food safety guidelines, visit USDA Food Safety Guidelines.
Frequently Asked Questions
Why are my lemon blueberry scones dense instead of flaky?
Dense scones usually result from warm butter or overworking the dough. Make sure your butter is cold and grated, work quickly with cold hands, and mix just until the dough comes together. Visible butter pieces in the dough are good – they create steam in the oven for flaky layers.
Can I use frozen blueberries in lemon blueberry scones?
Absolutely! Frozen blueberries often work better than fresh because they hold their shape and release less juice during baking. Don’t thaw them first – use them straight from the freezer and toss with flour before folding into the dough to prevent color bleeding.
How do I prevent my lemon blueberry scones from spreading during baking?
Chill the shaped scones for 15 minutes before baking, ensure your oven is fully preheated to 400°F, and don’t skip the cold butter technique. Spreading usually indicates the butter was too warm when mixed or the oven temperature was too low, causing butter to melt before creating steam.
What’s the best way to get more lemon flavor in my scones?
Use both lemon zest and fresh lemon juice for maximum flavor impact. The zest contains aromatic oils while the juice provides tartness. You can also add a teaspoon of lemon extract to the wet ingredients, or fold in finely chopped candied lemon peel for intense citrus bursts.
More Recipes You Will Love
👉 Perfect Strawberry Cold Foam Recipe (Starbucks Style)
👉 Perfect Homemade Churros Recipe (Crispy Outside)
👉 Perfect Guacamole Recipe (Restaurant Quality)
These perfect lemon blueberry scones bring bakery-quality results to your kitchen with simple techniques that anyone can master. Try this recipe for your next brunch gathering and watch everyone ask for seconds. Share your scone success stories in the comments below!